Reservation F&B
Introduction
The Reservation F&B feature is an upgraded version of the restaurant account type, designed to enhance customers’ ability to reserve tables in advance without the need for time-consuming confirmation processes.
This feature only available for store category > restaurant and when the business mode > assigned table number.
How to make a reservation F&B?
There are 4 ways to create a reservation:
a. Web admin
b. Pro apps
c. Restaurant Website
d. B Reward
Note: At this moment, Reservation F&B only support in Big Pos Pro apps as master device, however user unable to make reservation via sub device and waiter apps.
a) How to create reservation via Web Admin?
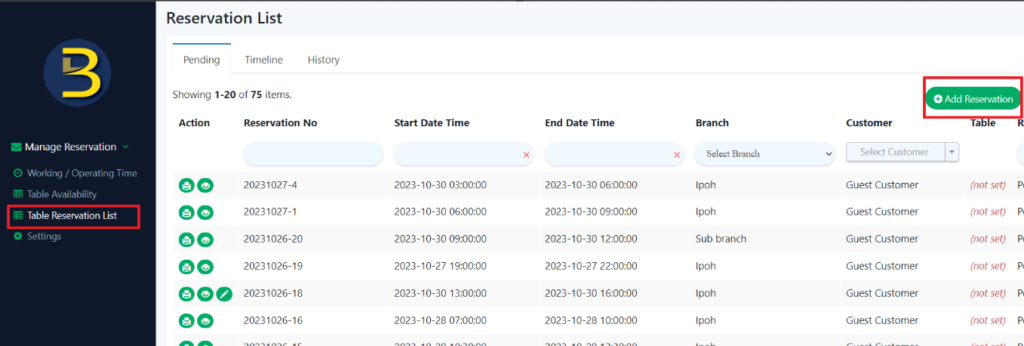
- Go to web admin and click ‘Reservation‘.
- Then, select the ‘Table Reservation List‘ and press the ‘Add reservation’ button.
- Fill in all the fields and click ‘Save‘ button. The reservation successfully created.
b) How to create reservation via Big Pos?
- Enable this feature in the settings of Big Pos Pro, then click the ‘Reservation‘.
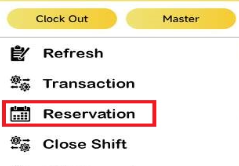
2. When press ‘Add Reservation‘, the detail form of reservation will be displayed.
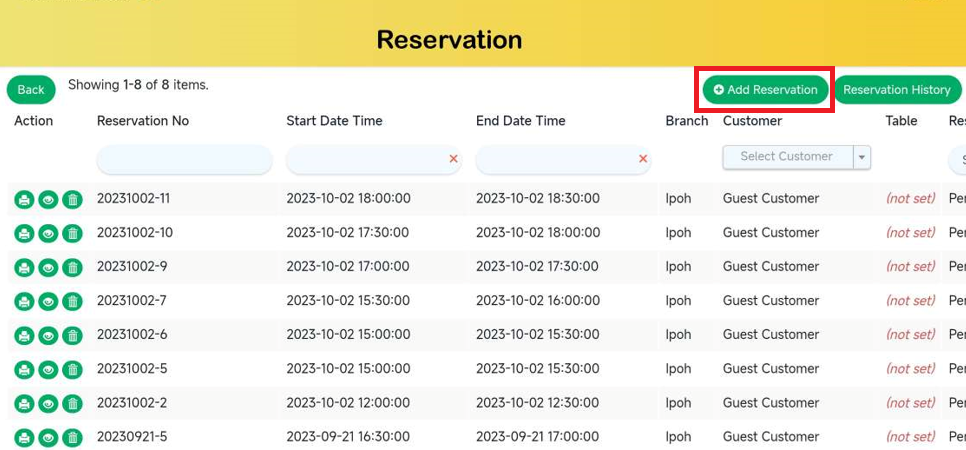
3. Fill in all the fields and click ‘Save‘. The reservation successfully created.
c) How to create reservation using Restaurant Website?
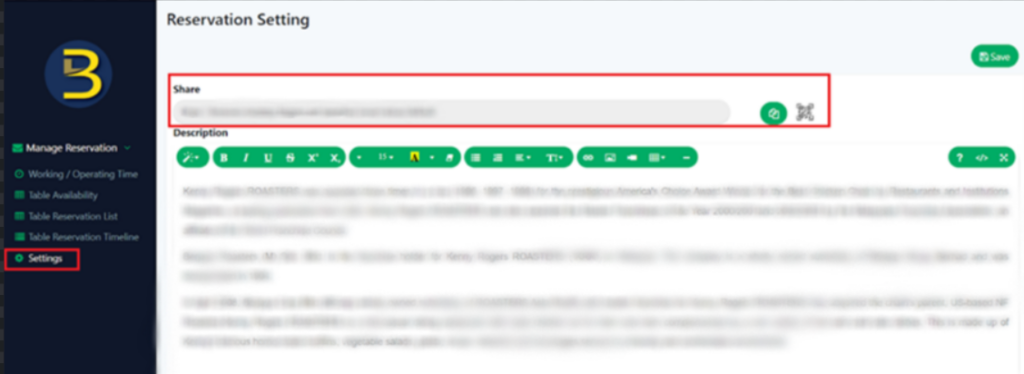
- In the Manage Reservation section of the web admin, clicks on ‘Settings,’ it will lead directly to the Restaurant Website URL.
- User has two option whether to copy link or scan QR to redirect go to the Restaurant Website.
3. Once enter Restaurant Website, scroll down to page below and click the ‘Reserve Now‘ button.
4. Fill in all the fields and click ‘Save‘. The reservation is successfully created.
d) How to create reservation using B Reward?
- Login into B Reward and click on ‘Reservation‘ button.
- A list of previous reservation will be displayed, click the ‘New Reservation‘.

4. Once enter Restaurant Website, scroll down to page below and click the ‘Reserve Now‘ button.
5. Fill out the required field and click button ‘Save‘.
Note: Only reservation with pending status will send notification to pro apps.
Manage reservation page setting (Web Admin)
There are 5 pages under Manage Reservation module:
a. Working/ Operating Time
b. Table Availability
c. Table Reservation List
d. Table Reservation Timeline
e. Settings
a) Working/ Operating Time
This function has two settings which are
- Days
2. Dates
Note:
i) If the restaurant has more than one branch, users can configure different settings for each branch by selecting the desired branch’s setting via the location dropdown.
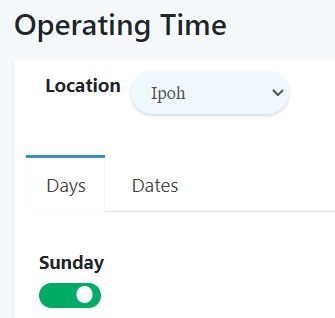
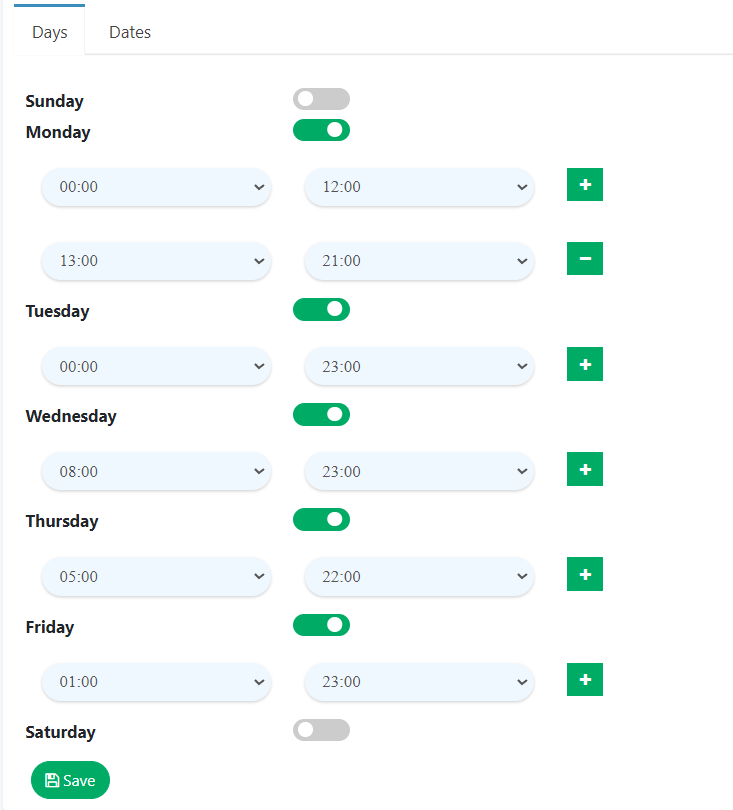
Days settings
- User can configure the time for each day.
- If user toggle the switch off, no reservations will be accepted.
- It’s a different case if users toggle the switch on. In this case, they can adjust the time based on the operation hours.
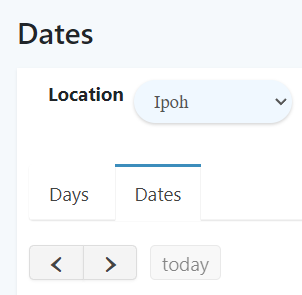
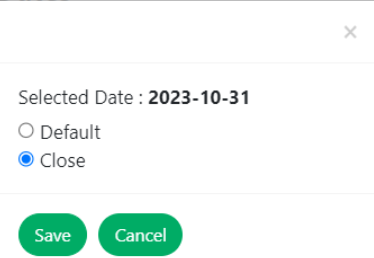
Dates Settings
- The date settings function allows the system to close operations on specific dates
2. When a user clicks the specific date, select ‘Close‘ and click ‘Save‘. During that time, no reservation will be accepted.

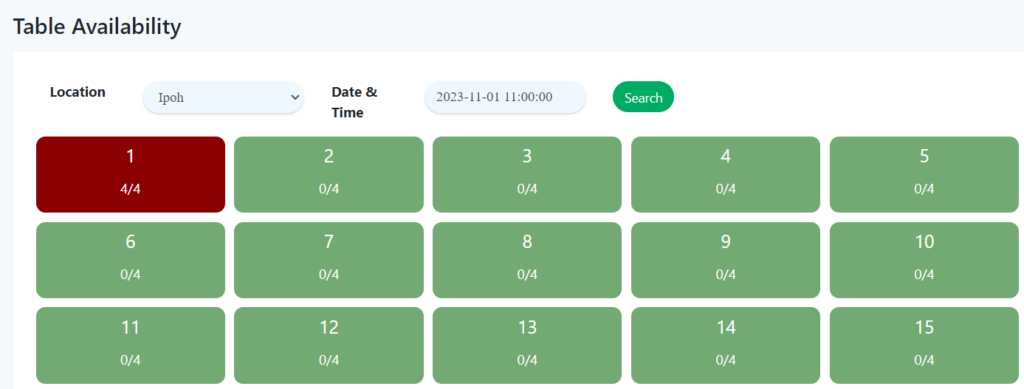
b) Table Availability
- User can check table availability on specific date and time via table availability page.
- Each of color represent
i) Green color table = That table is available
ii) Red color table = That table is already reserved
c) Table Reservation List
This function has three settings which are
- Pending
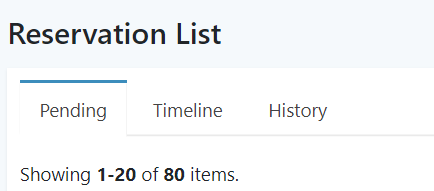
2. Timeline
3. History
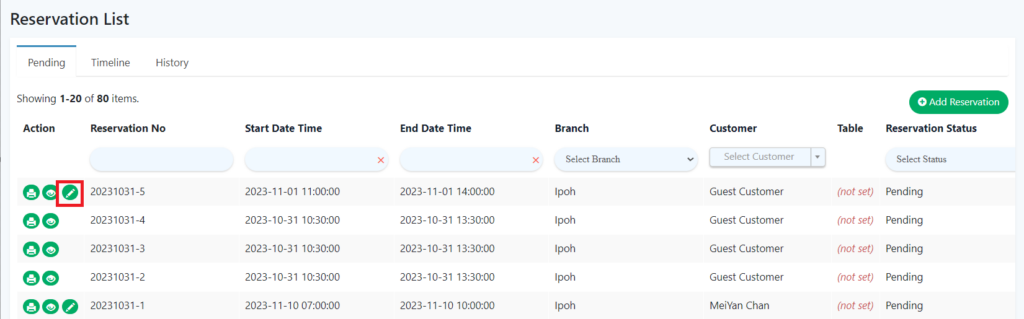
Pending List
- This tab will show the pending reservation.
- For reservation via Restaurant Website / B Reward, the status of reservation will be pending.
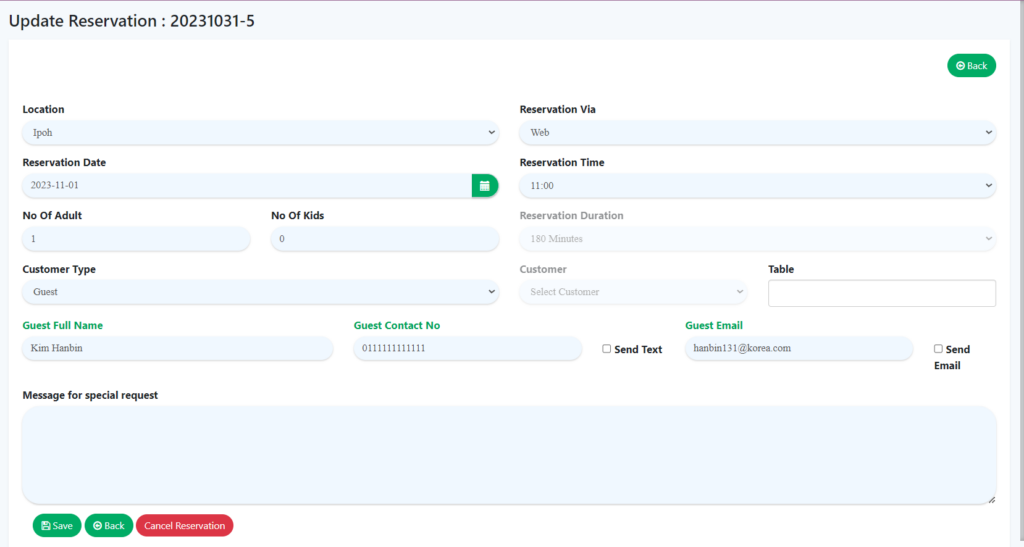
- As figure below, show some of the reservation list can be add new reservation or update reservation by user.
- When click on update reservation button, users have the option to edit the information or cancel the reservation by clicking the ‘Cancel Reservation‘ button.
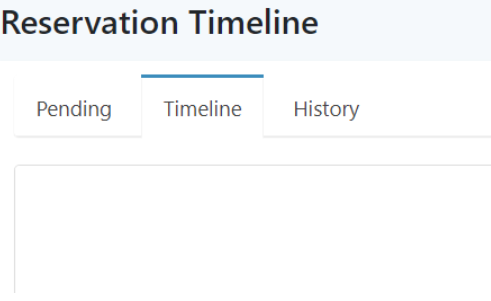
Timeline List
- The tab’s purpose is to display confirmation reservations, with most of the information collected from Web admin or Pro apps when a reservation is created.
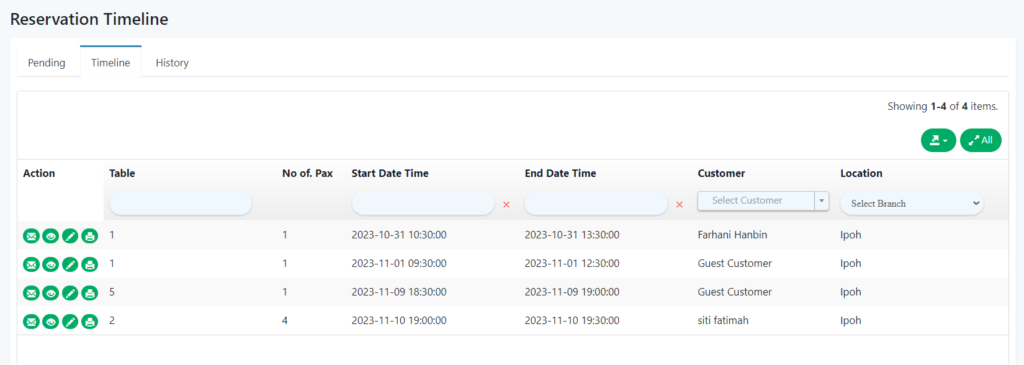
2. As illustrated in the figure below, when the user clicks button (1), an email will be sent to the customer.
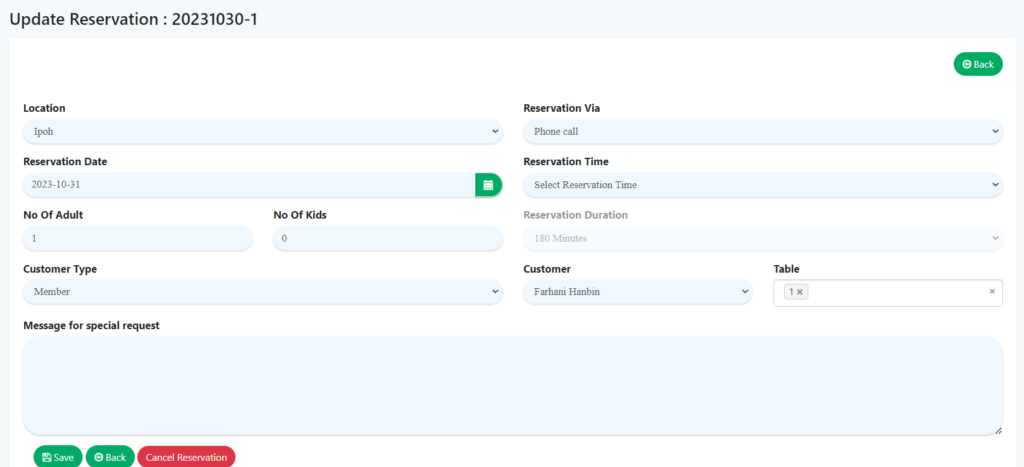
3. If the user clicks on (2), which serves as the function to edit, users have the option to modify the information or cancel the reservation by clicking the ‘Cancel Reservation‘ button.

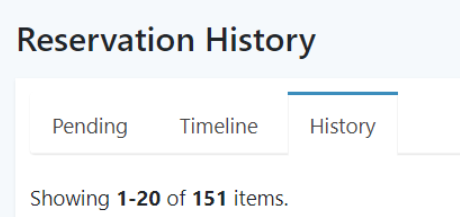
History List
- This tab will show cancel and complete reservation.
c) Table Reservation Timeline
- The location of table reservation timeline at Table Reservation List section.
- Table Reservation Timeline will only show confirm reservation list.
- Users have the option to download export data in either PDF or CSV format for the confirmation list from the top right of the main interface, timeline list tab.

d) Reservation Setting
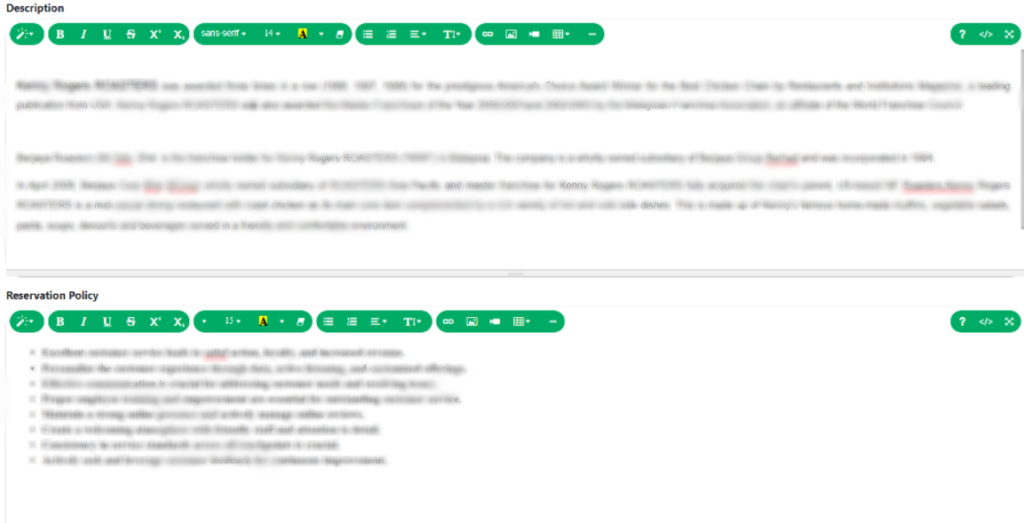
- User can get the restaurant website link from settings page by scanning the QR code or by clicking the copy link.

2. User can configure restaurant website description and reservation policy from this page.
3. User able to choose booking slot interval setting for 30, 60, and 90 minute.

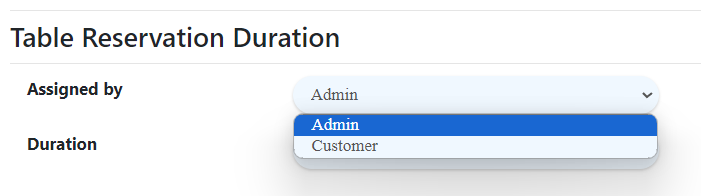
4. For table reservation duration, user has two option either to set by customer or by admin with time duration option 30, 60, 90, 120 and 180 minute.
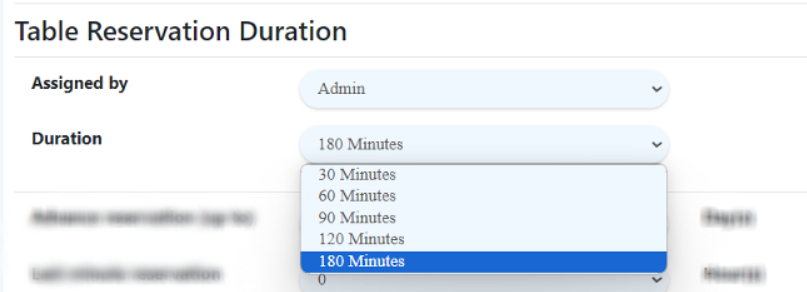
5. User able to set advance reservation setup max 30 days and last minute reservation max 24 hours.

Manage reservation setting in Pro apps
- Go to settings in pro apps>reservation setting> enable F&B Reservation (table booking).

2. Reservation Table lock: user can choose to lock the table with time option 15, 30, 45 and 60 minutes.

Important Notes: Currently F&B reservation payment status will be unpaid due to no payment available for reservation.