Product Tag Management – How to create/update or delete in web admin?
Introduction
Product tag is giving tag to the specific product and its usually use for promotion. Let’s say customer set promotion only apply on product with tag “5%”. So all product tag with 5% will auto apply the promotion. This post will guide you to create/update or delete product tag in web admin.
How to create/update or delete?
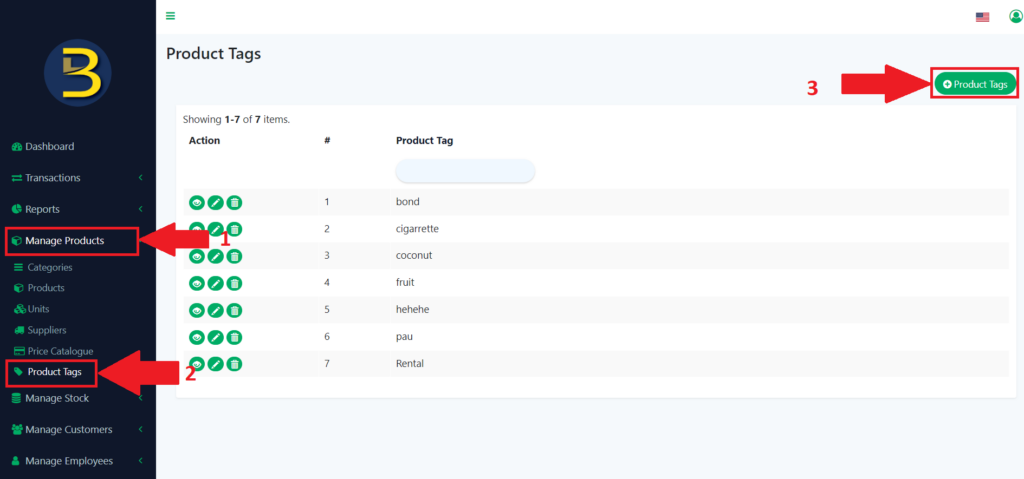
- First, you need to look for “Manage Products” in the left panel and click to expand the list.
- Then, you click on the “Product Tags” to redirect you to the product tags page.
- After you see the page, you look for the “Product Tags” icon to add new product tags.
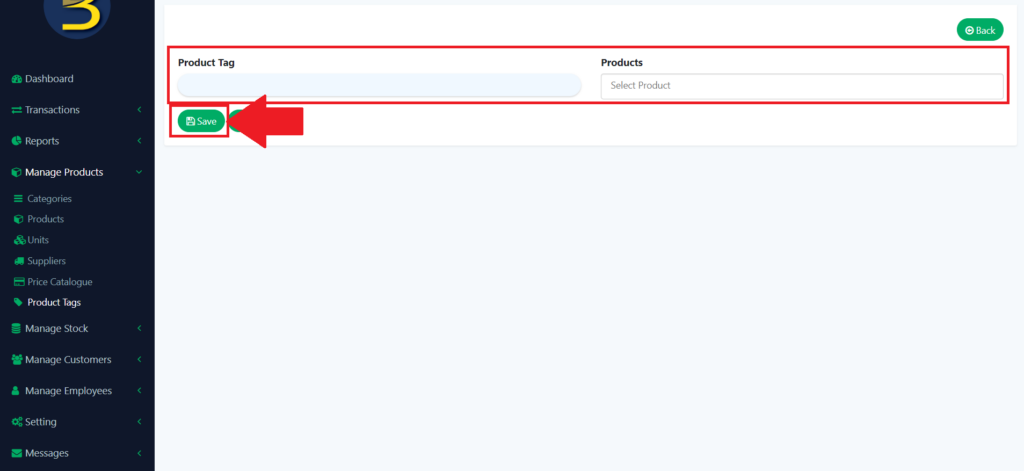
4. Fill in the detail of the product tag and then click on the “Save” icon button to save the product tag.
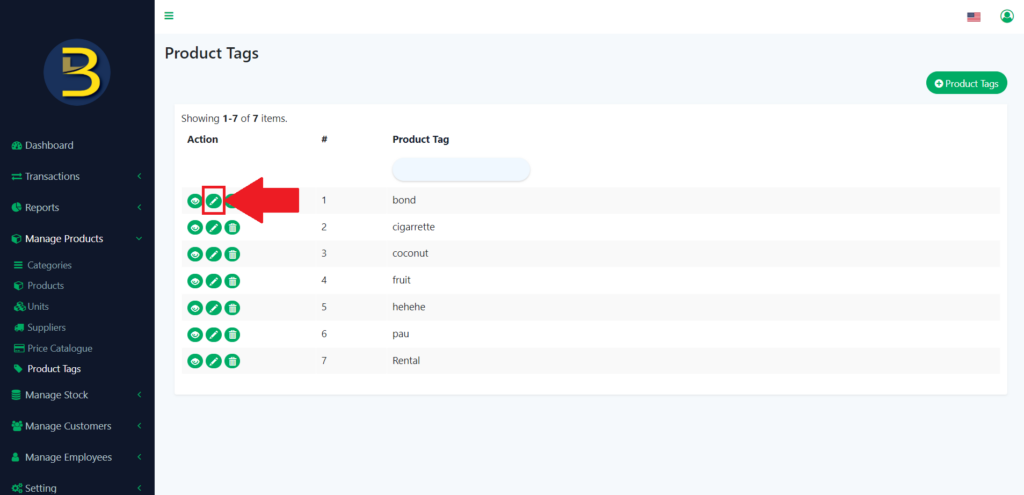
Update the detail of the product tags.
5. To update the detail of the product tags, you need to click the pencil icon to redirect you to the product tag details.
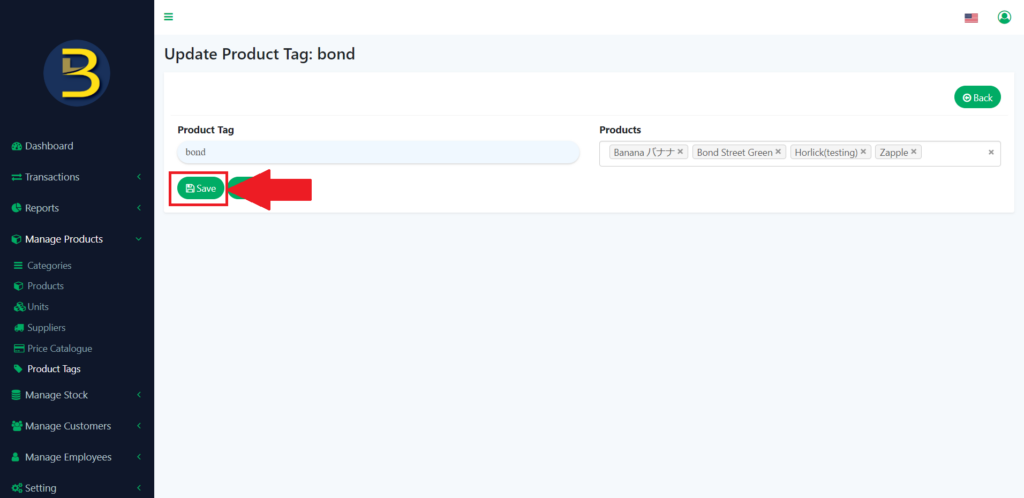
6. Update the details of the product tags and then click on the “Save” icon button to save the edited version.
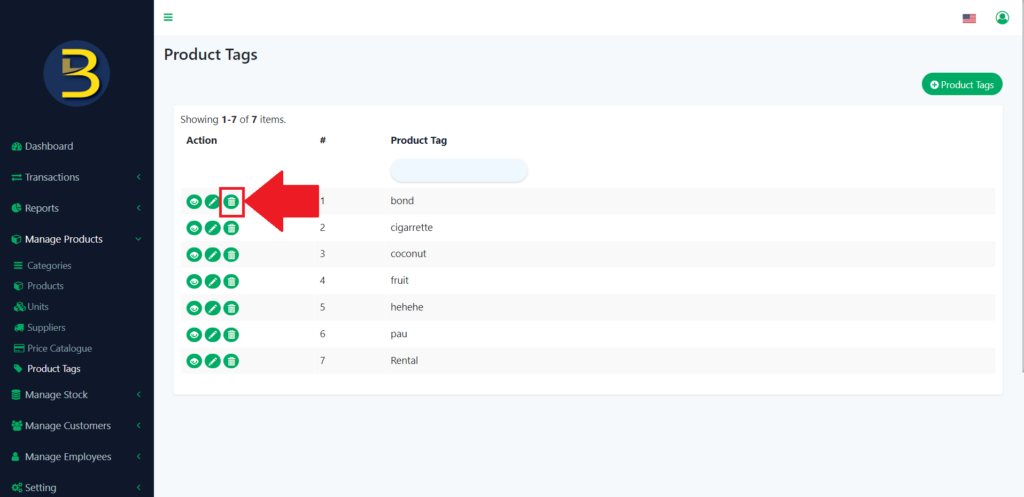
Delete the product tags.
7. To delete certain product tags, you need to click on the dustbin icon to delete.
8. There will be an alert message for confirmation to delete certain items.

9. The product tag will be deleted.