Own Rider Delivery
Introduction
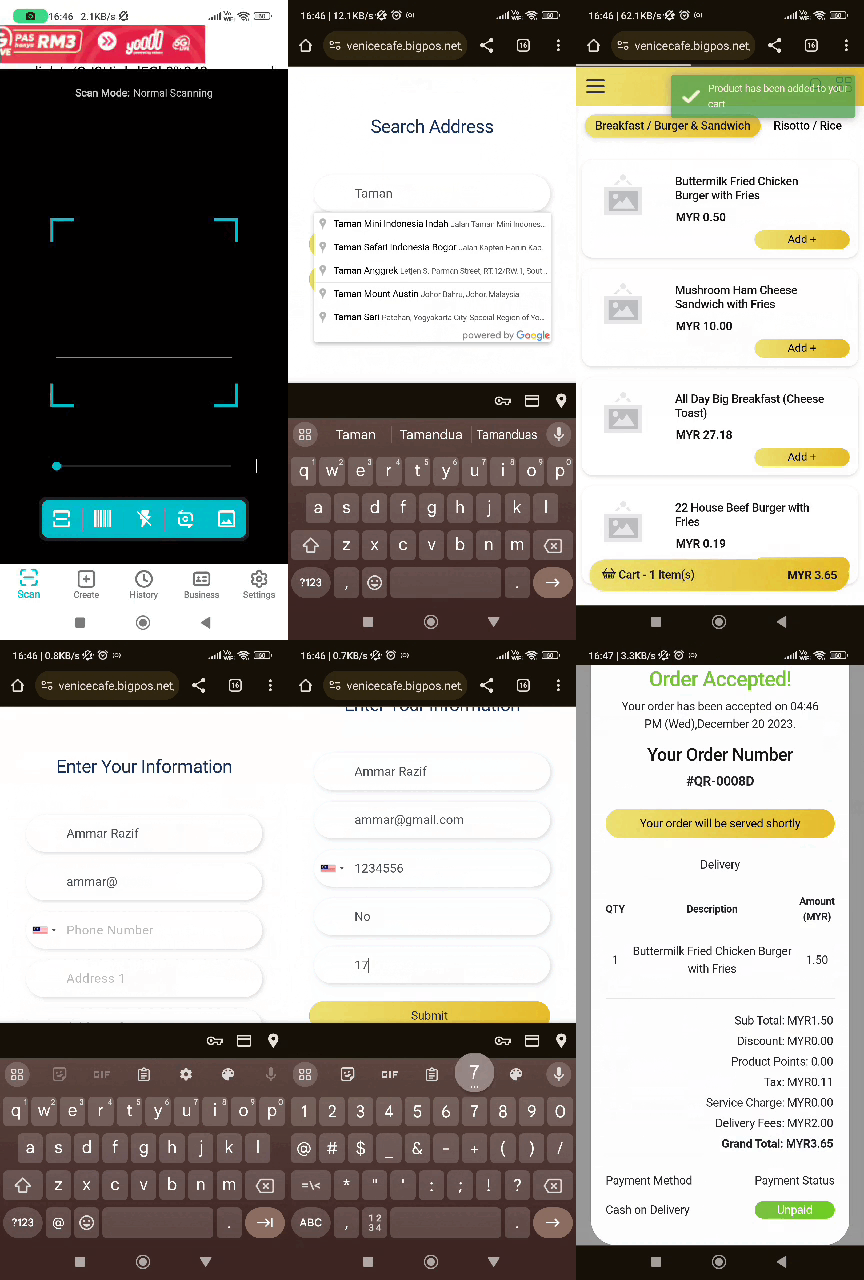
This post will introduce the delivery/pickup feature for own rider delivery. To use this feature, the customer can scan the QR menu, then the Pro app will receive the order. After that, the rider will be assigned by the restaurant employee to deliver the order.
Settings in the Web Admin
This feature has four sections related to the Delivery / Pickup, which are Delivery / Pickup Manager for own rider, QR Menu, Layout, and Delivery / Pickup Report.
a. Delivery / Pickup Manager for own rider
- Go to the web admin and click the “Delivery / Pickup Manager“. Proceed to click the “Delivery / Pickup Platform“.

2. By enabling own rider, the setting icon will appear.

3. On own rider page, click “Integration”.

4. On the Delivery App Configuration page, the user can select “Branch“, “Delivery Distance (KM)” by set the distance that available, specific button for “Add Delivery Rate”, and input the range of delivery, “From Distance (>)” and “To Distance“, with a Fix Rate.

5. When you click “Save”, the QR Menu for the delivery rate will use this setting.
b. QR Menu
How to settings QR Menu with own rider delivery?
- Go to the Settings, click the Branch and select the desired Branch by clicking on the update button.
- On the update branch page, press the QR Menu tab.
- Under Delivery Setting, able to enable and disable Delivery. Delivery cash payment also can be set up under Enable Delivery Cash Payment.

How to obtain QR Menu for own rider delivery?
- Refer to a. Delivery/ Pickup Manager for own rider until point 3.
- On the own rider page, the QR Menu labelled 1 will display three branches at once, meanwhile the QR Menu labelled 2 will only display a specific branch.

3. Click those QR icon, and QR Menu will display.
c. Layout
- Go to the “Setting”, select “Layout” and click “Ipad Layout”.
- For layout type, make sure to choose “Delivery/Self pickup”. Thus, the QR Menu layout will follow up as this position.

d. Delivery / Pickup Report
- To access to “Delivery / Pickup Report“, make sure to choose Reports > Sales > Delivery / Pickup Report.
- In this report, the data will displays delivery and pickup sales for each branch.

Basic setting in Pro Apps
- When enable QR Menu in the Pro apps, the Delivery Setting will show.
- Delivery Due Time due time indicator, if exceed the minutes set, the order due time color, will turn red
- Delivery URL show the sharing link or QR Menu.

How Delivery/Pickup work in QR Menu?
Scenario: Customer chooses Delivery
- When the customer chooses delivery, the customer require to input valid address, place orders and click the “Checkout”. Then, fill in the required information about the customer details. Payment option for delivery: the “Cash on Delivery (COD)” or online payment. After the transaction is successful, invoice receipt displays “Delivery” with the QR order ID will show a capital D at the back. For example, #QR-001D.

Scenario: Customer chooses pickup
When the customer chooses self pickup, the customer will directly to main page for place orders and fill in the required information about the customer details. Payment option only online payment. After the transaction is successful, invoice receipt displays “Self Pickup” with the QR order ID will show a capital P at the back. For example, #QR-001P.

The flow of the QR Menu for Own Rider Delivery in the Pro Apps
- When an order has been received in the Pro app, click the rider icon. On the Delivery | Pickup – Order list page, a list of orders for delivery and self pickup will be displayed on this page.
- In the New Order tab, a new order will appear on this page. If you click the view button, the system will show the invoice receipt details. Meanwhile, a tick button acts as a receive order and ready to deliver or self pickup. Together with this action, customer will get an email to notify customer that restaurant owner accepted their orders.
- In the Active Order tab, this page acts as a Complete order button when the delivery has been sent to the house or the customer has already picked up the order. This action also will send customer an email to notify food is ready to deliver or pickup.

Note: For self-pickup, the user does not need to assign a rider. It will directly accept the order and send the items to the kitchen for printing.
BIG KDS for QR Menu Own Rider Delivery
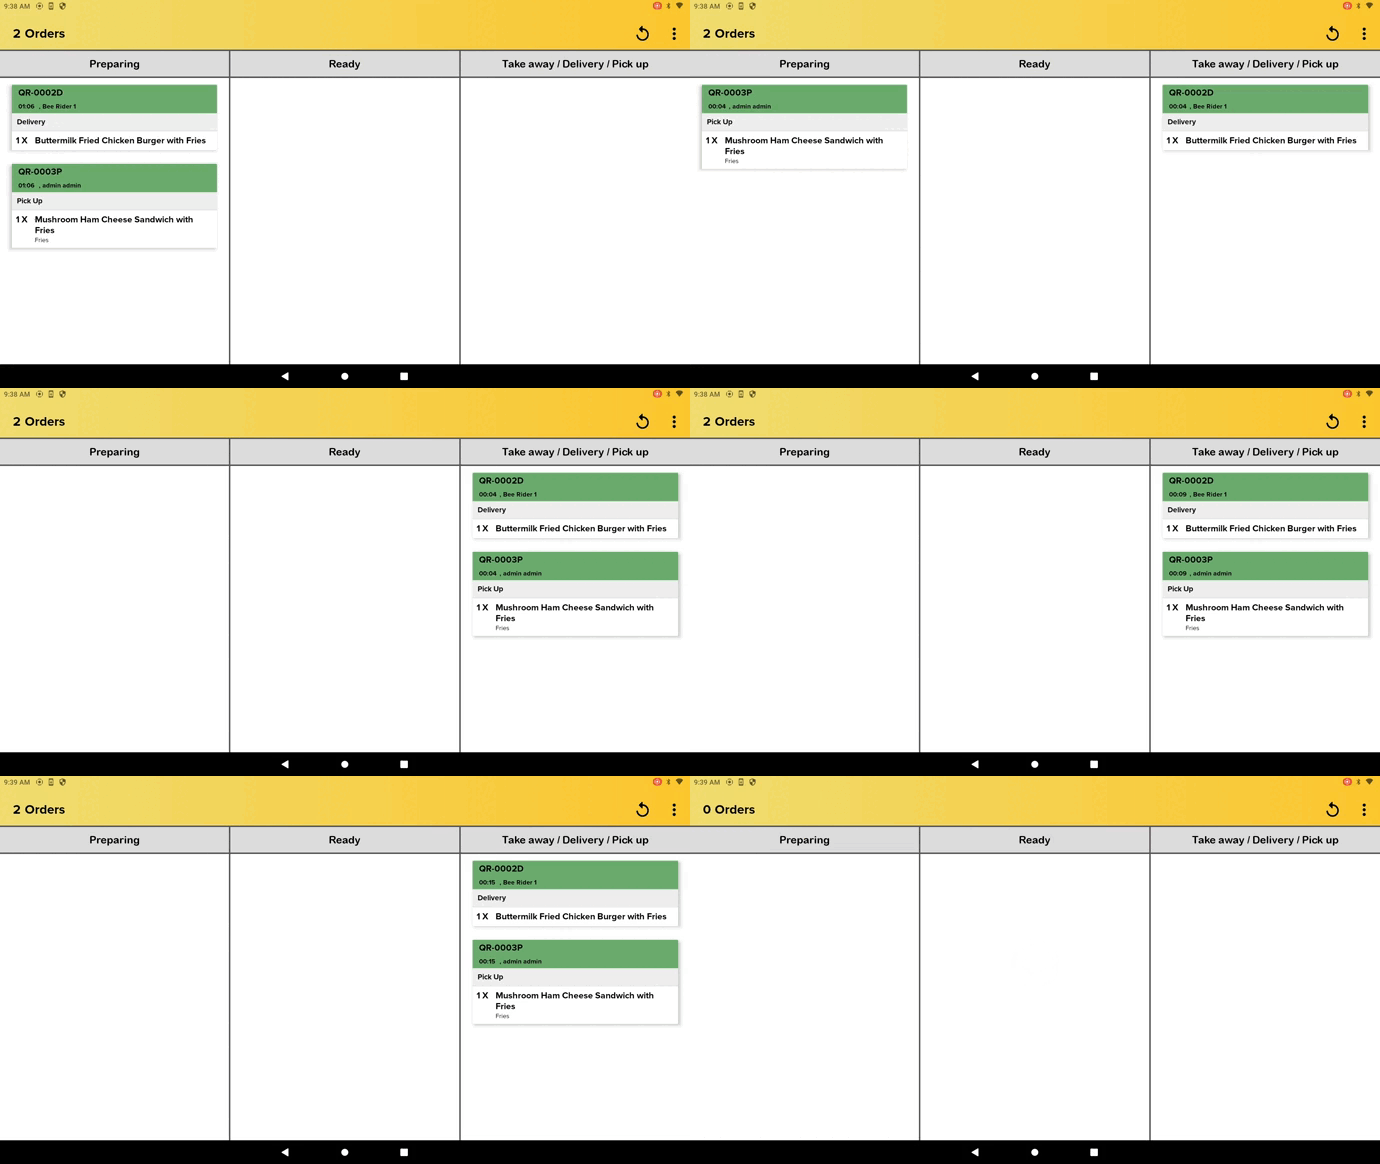
- The BIG KDS displays delivery and pickup orders after receiving them.
- They are labelled as Delivery or Pickup orders.

BIG CDS for QR Menu Own Rider Delivery
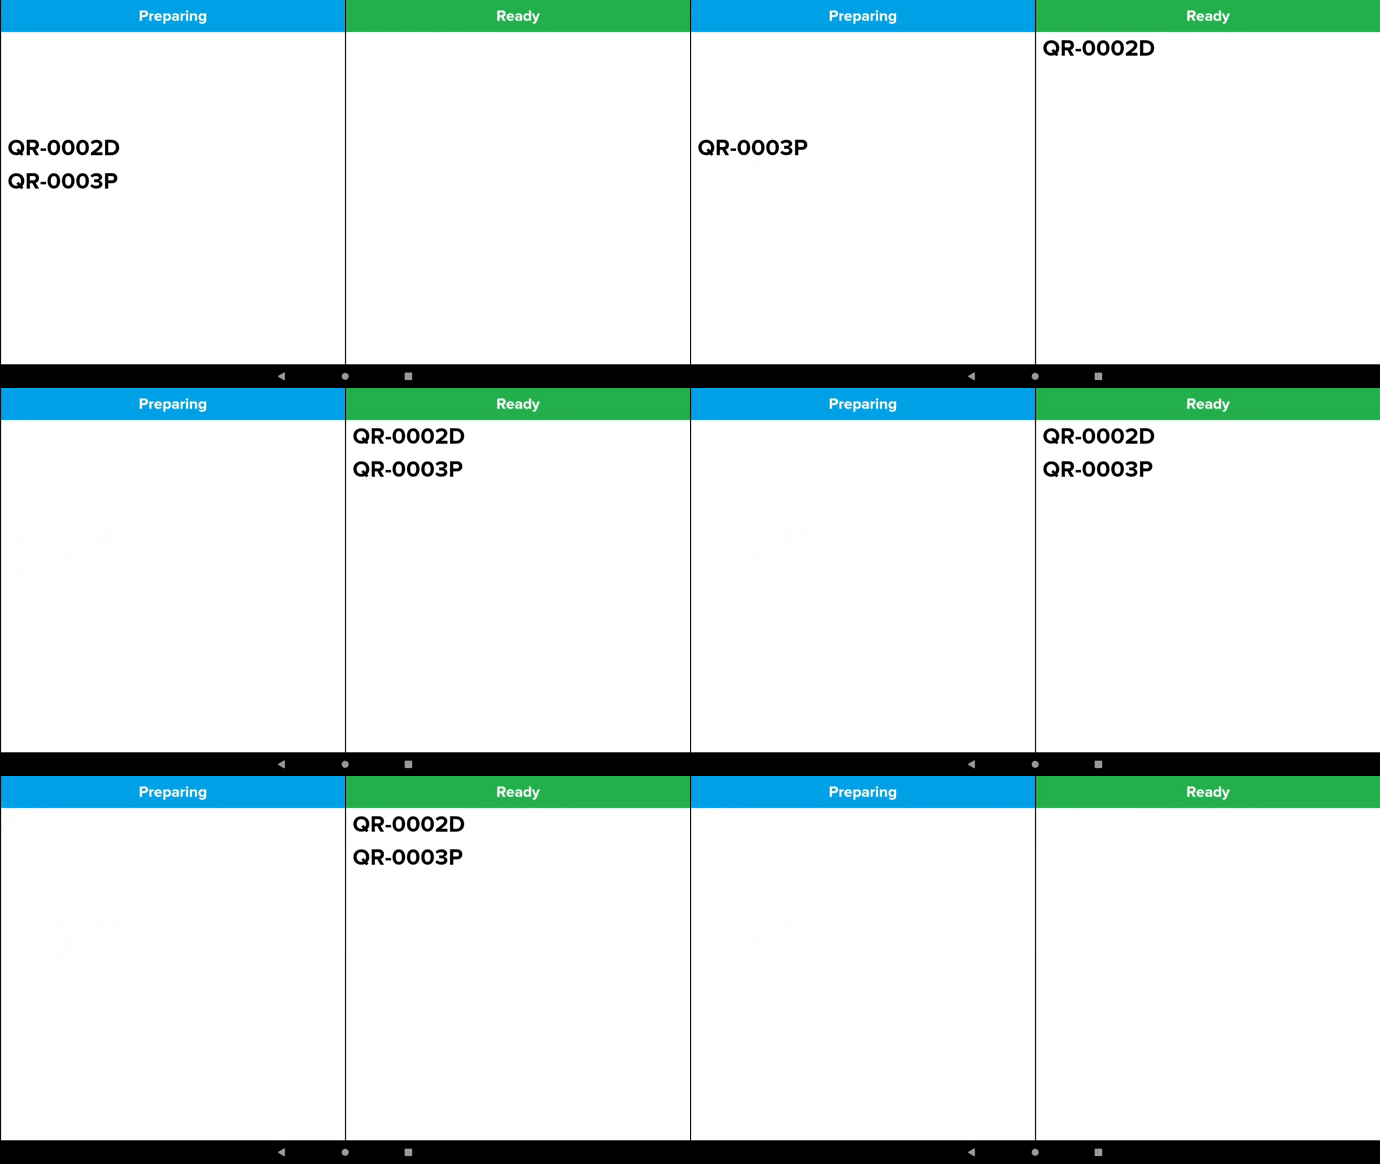
- For delivery orders, the ID ends with a D (example: #QR-001D), meanwhile for pickup orders, the ID ends with a P (example: #QR-001P).
