How Can We Help?
Loyalty System (E-Stamp)
Introduction
This post will introduce you to e-stamp system.
How to create an E-Stamp in web admin?
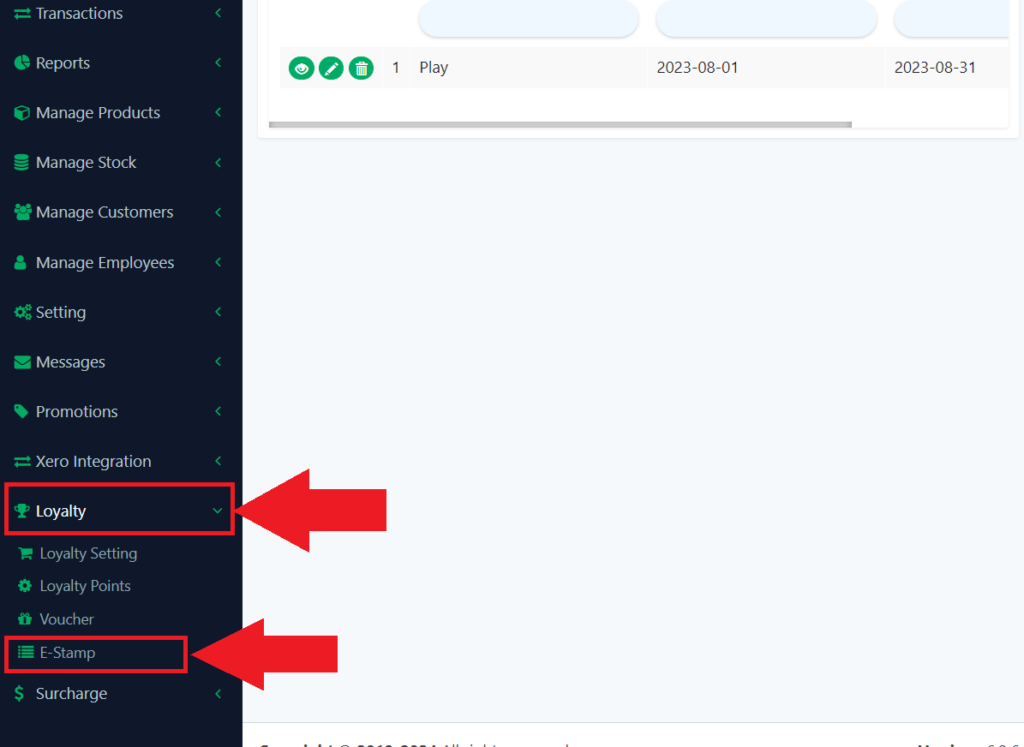
- Look for the “Loyalty” in the left panel to expand the category.
- Then from the category look for “E-Stamp” to redirect to the page.
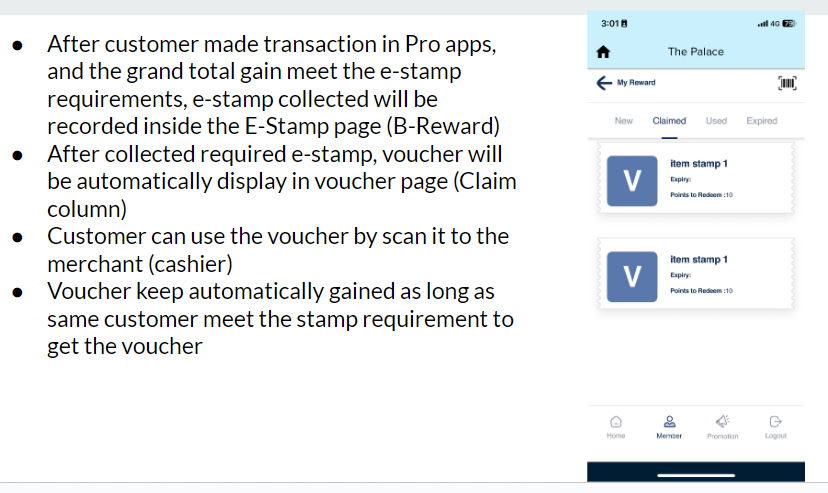
- E-Stamp is a feature that allow Customer to use more than 1 same voucher.
- The collected e-stamp can be claimed into a voucher.
- example: if collect 5 E-Stamp, customer eligible to claim 1 voucher
- The voucher that is eligible to earn is from the Loyalty app claim type only.
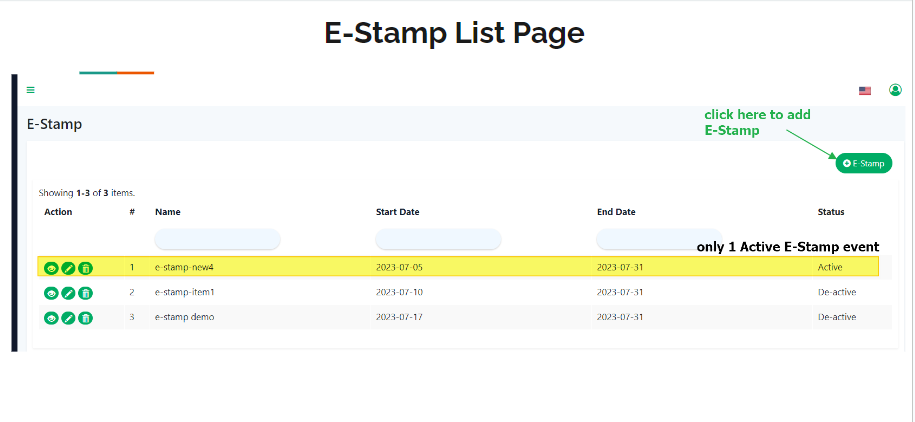
- Only 1 active E-stamp is allowable.
- The E-Stamp function is only visible in the B Reward app and the settings can be managed in web admin.
3. From the e-stamp page, click on the “+ E-Stamp” button to create a new e-stamp.
4. Then click on the “Save” button to save the detail.
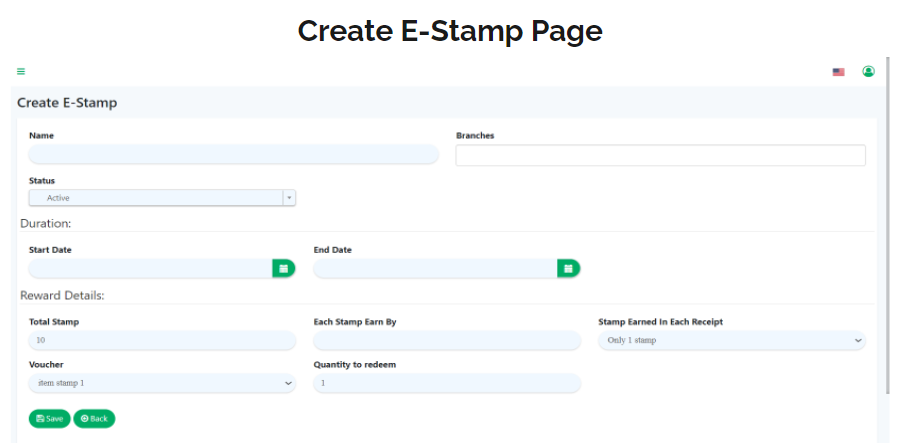
- Actually, it’s similar to voucher, just has additional setting for the stamp.
- In the Create E-Stamp page, the user can put the Name, Branch, Status, and Date range for the E-Stamp function.
- Total stamp: how many stamps the customer needs to collect to get the reward.
- Each stamp earned by (RM): means spending over how much only can get the stamp.
- Each receipt can be earned with the option “only 1 stamp”: which means 1 receipt can only get 1 stamp, no matter u spends over how much.
- Each receipt can be earned with the option “more than 1 stamp”: which means 1 receipt can get 1 or more stamps if you spend more Example: I set each stamp earned by “RM 50” and each receipt can earn “more than 1 stamp”, customer spend RM 230 in 1 receipt then customer can get 4 stamps.
- Voucher: voucher selected if e-stamp meets the requirement.
- Quantity to redeem: how many vouchers quantity to redeem.
5. For the B reward system, the interfaces are like this:
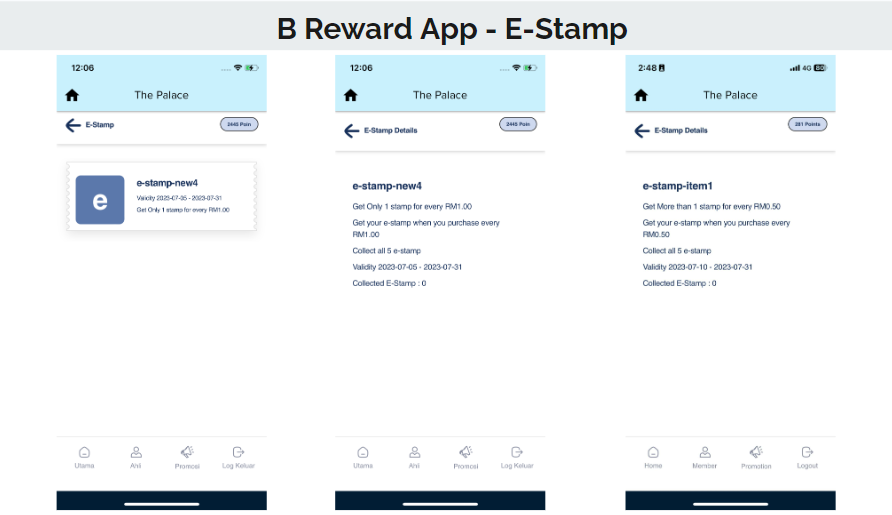
6. The step is at follow: