How to use terminal settings in BIGPOS Pro
Introduction
This post will guide you on how to using terminal setting in BIGPOS Pro. The reason of terminal is to standardized the QR Menu URL based on the terminal ID. Thus, the restaurant can has a fix QR Menu on the table without need to reprint QR Menu again.
How to use terminal settings?
A) Basic Terminal Settings
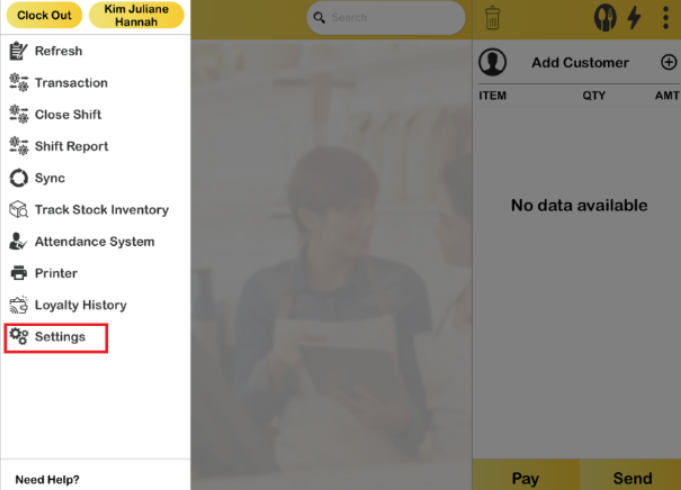
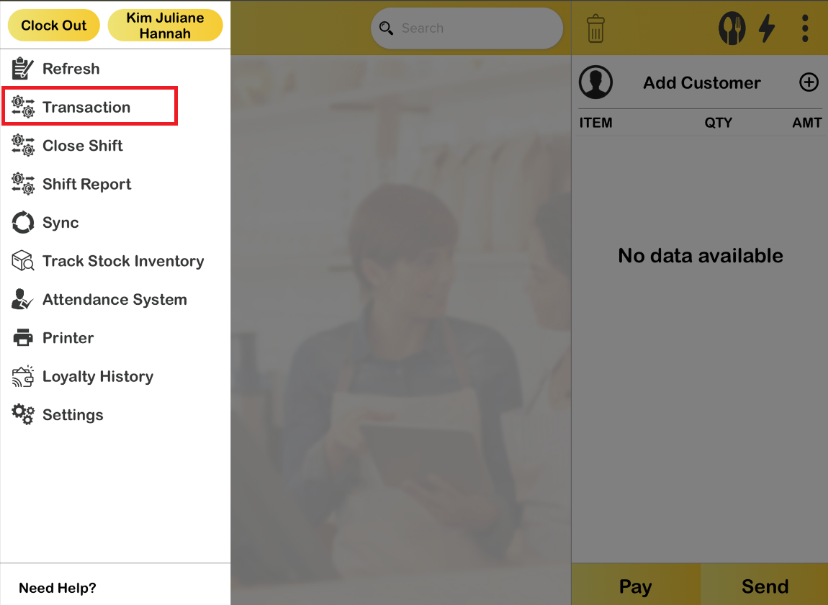
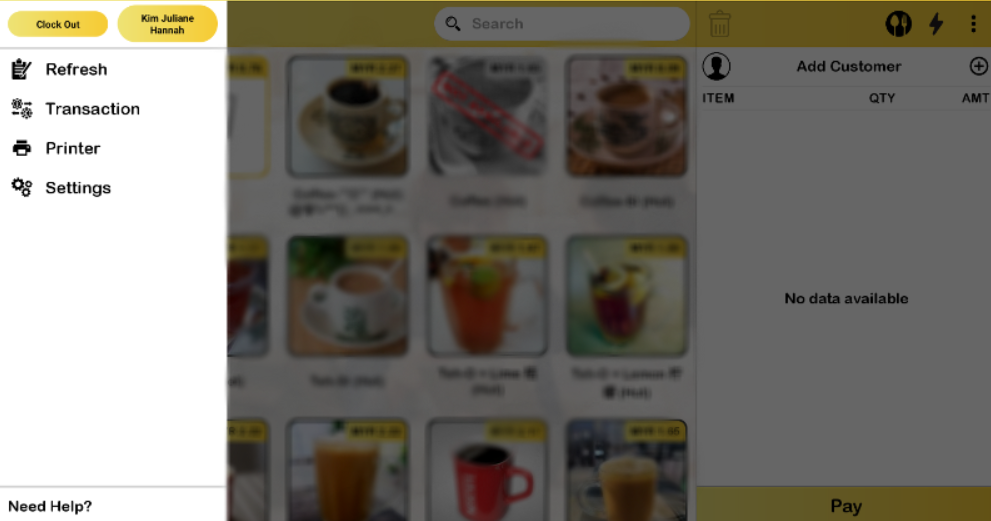
- Open BIGPOS Pro and click “Settings“.
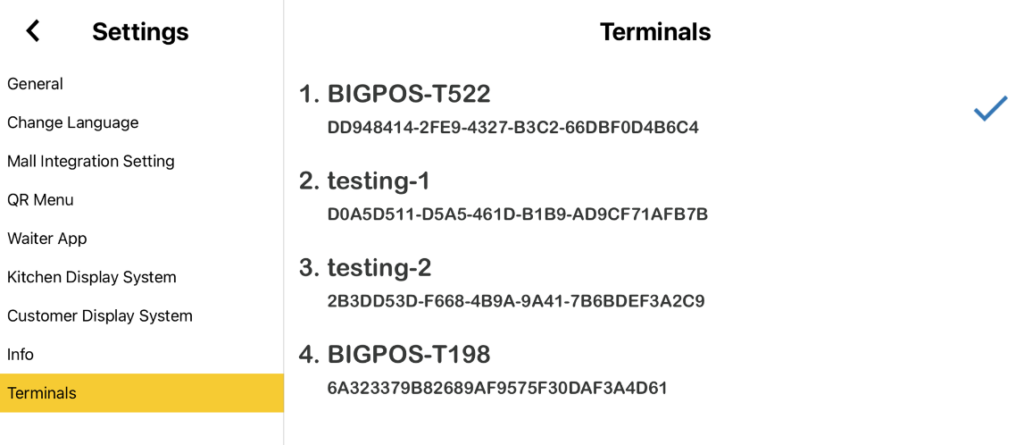
2. Then, tap “Terminals“. Choice the available terminals that show up.
3. If you are confusing and do not sure which one of terminal ID should be selecting, a suggestion is by creating a random order. After that, check “Transaction“.
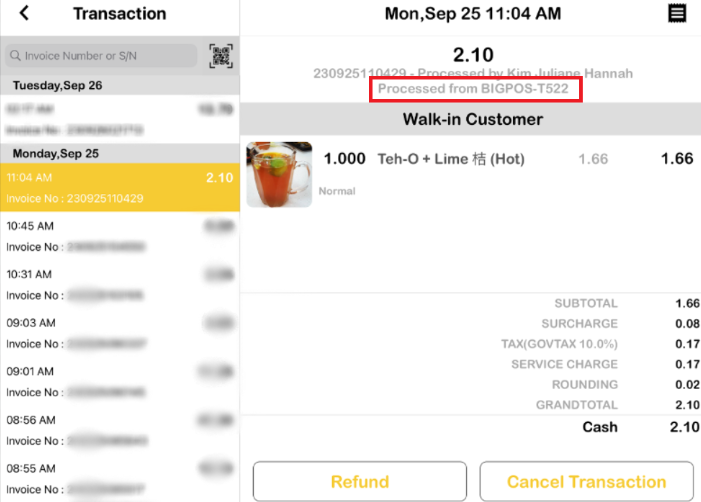
5. In Transaction, the terminal ID will display as the accompanying picture below. Thus, repeat Step 1 and 2 to choose a correct Terminal ID.
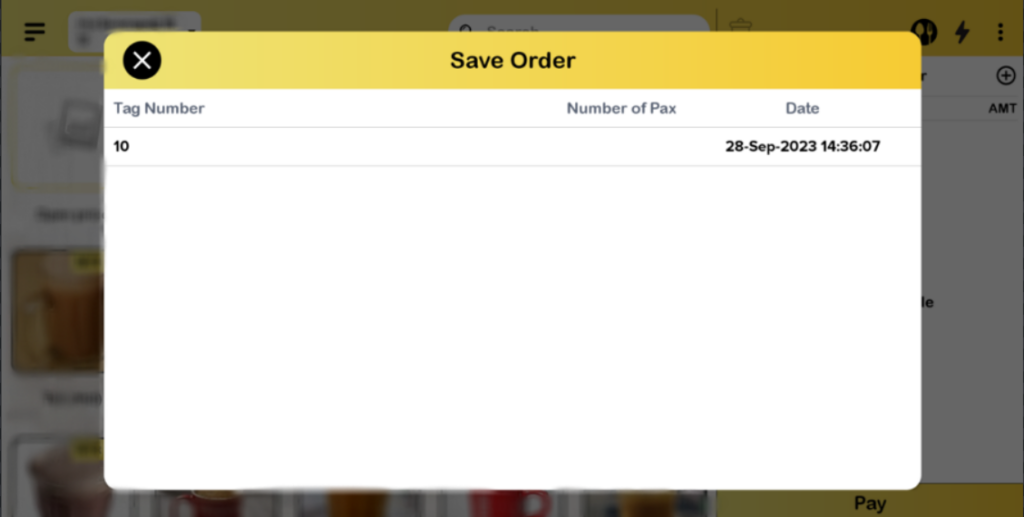
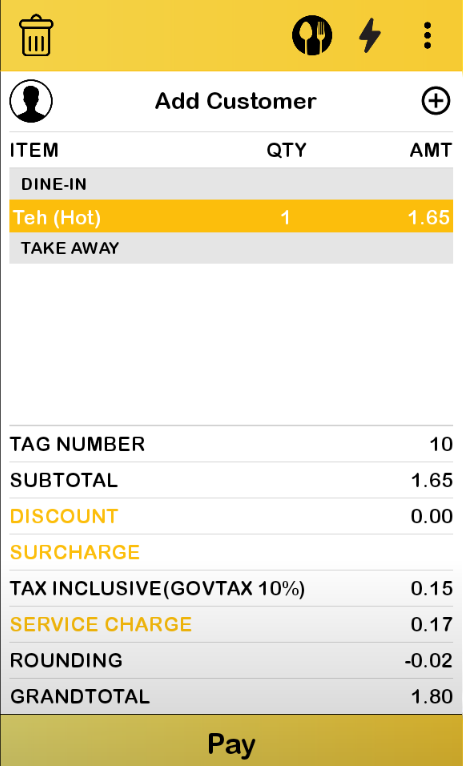
6. After the customer done using the QR Menu, the order should be retrieve as the depicted below.
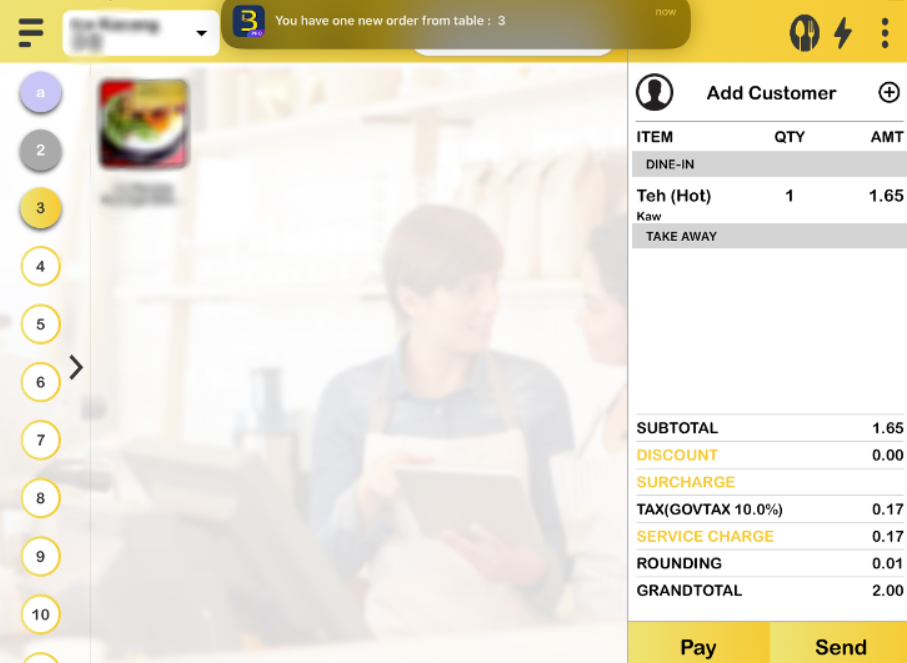
Note: If the Terminal ID in the transaction, cannot be found in the terminal ID settings. Please do contact us for further assistant.
B) Settings sub device terminal ID
- Make sure to follow basic terminal settings.
- Then, switch on “This is Local Server“.
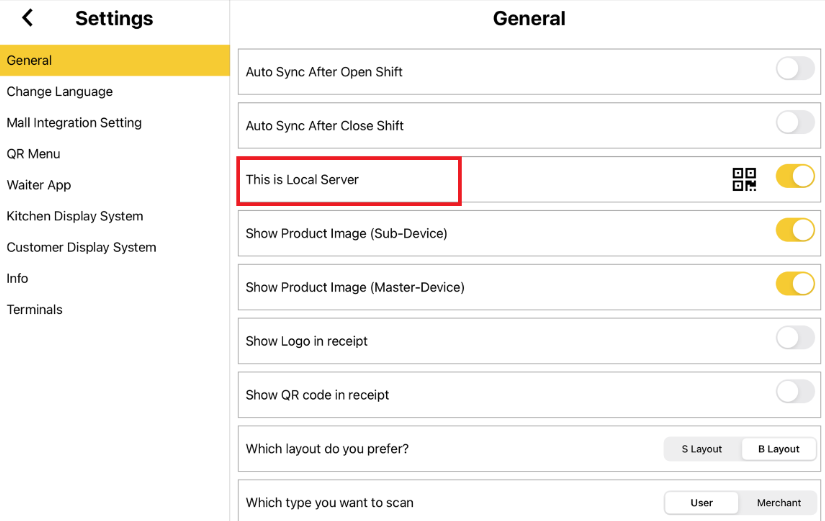
3. To connect the sub-device to the master device, just turn on ‘Join Local Server.‘ You can either scan the QR code or enter the master device’s IP address. Once the connection is successful, the terminal ID will sync. The picture below confirms that the sub-device is now connected. You can use a QR Menu on the sub-device, similar to the one on the master device.
4. Once the customer has completed their order using the QR Menu sub-device, it will be instantly received by the master device.
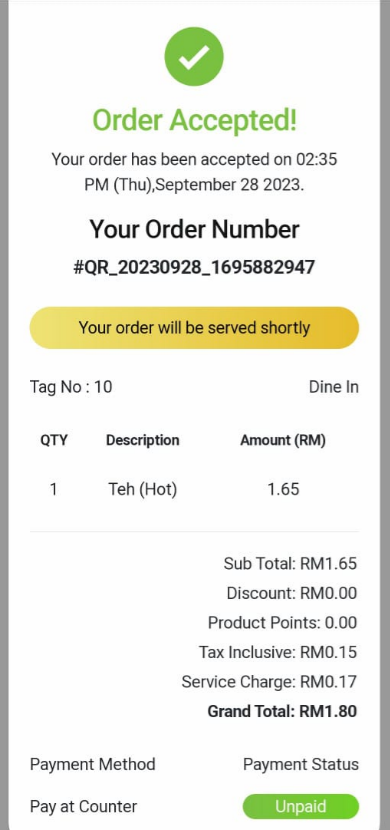
5. Please check the Master device to confirm if the order has already been received and Sub device can check order too.