How to set up Revenue Monster payment on the official website for Web admin and QR Menu.
Introduction
In BIG POS systems are available with Revenue Monsters payment. In this post will share out how can step by step to set up Revenue Monster and use in our BIG POS systems.
How to set up Revenue Monster payment on the official website?
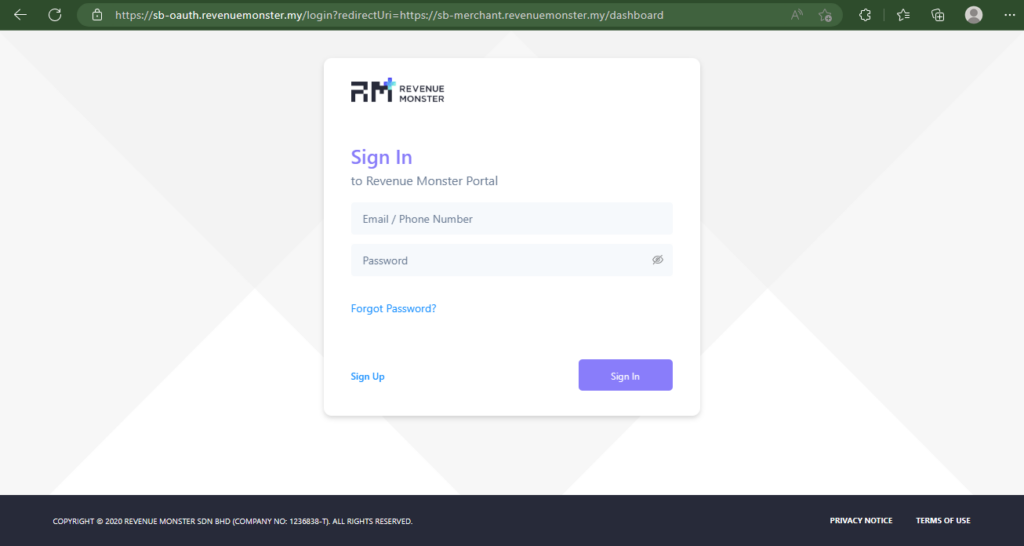
- First, you need to go to Revenue Monster official website https://sb-merchant.revenuemonster.my/dashboard and log in with your account. If you don’t have an account, please sign up.
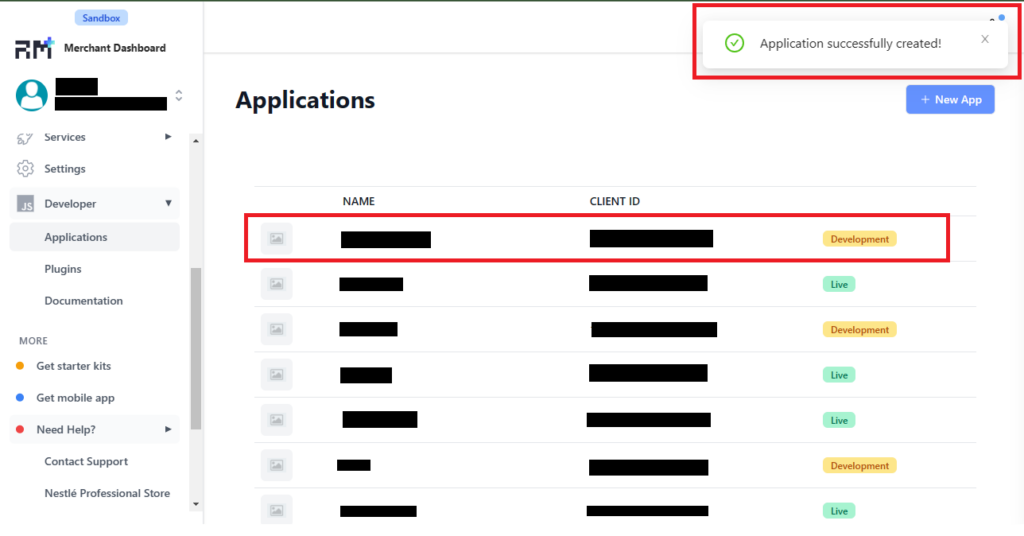
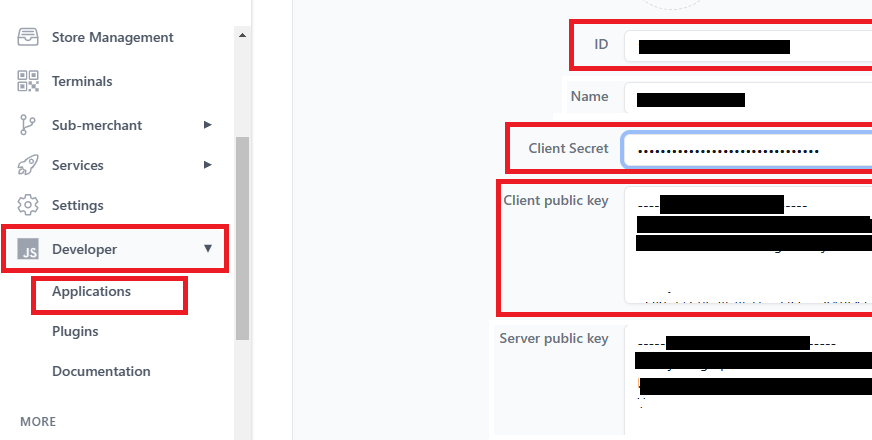
2. After login, on navigator bar search for “Developer” and choose “Applications“.

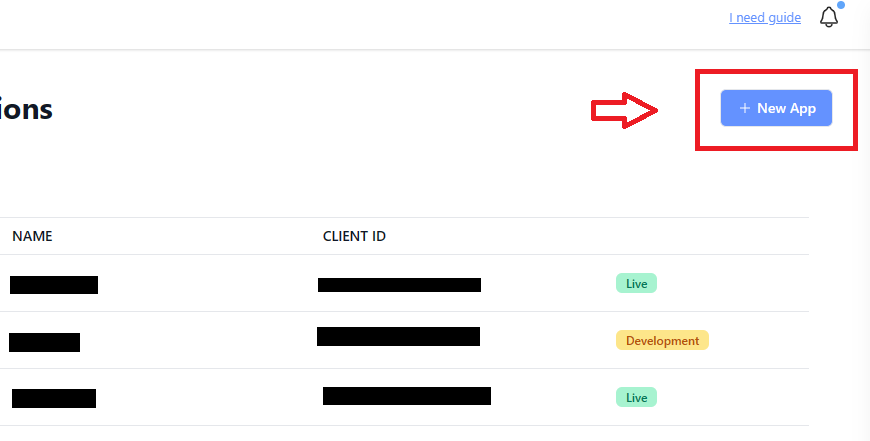
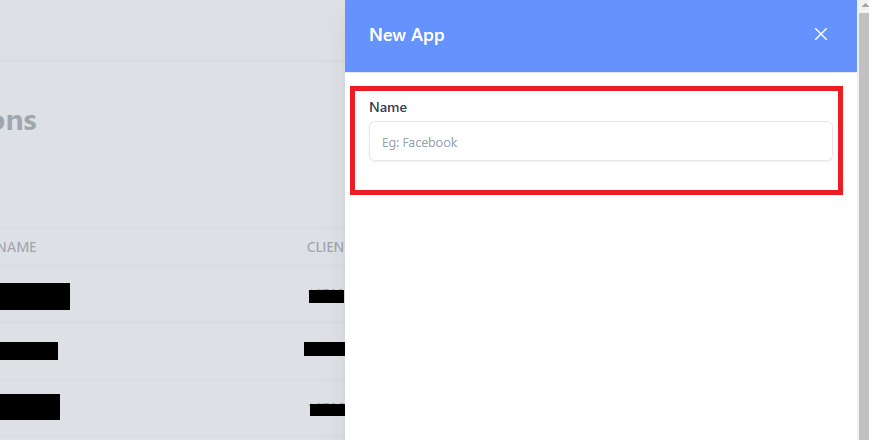
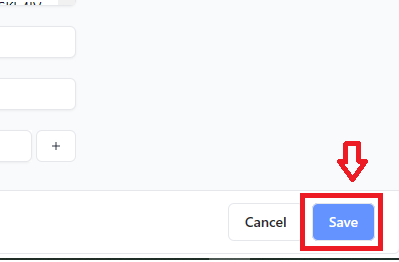
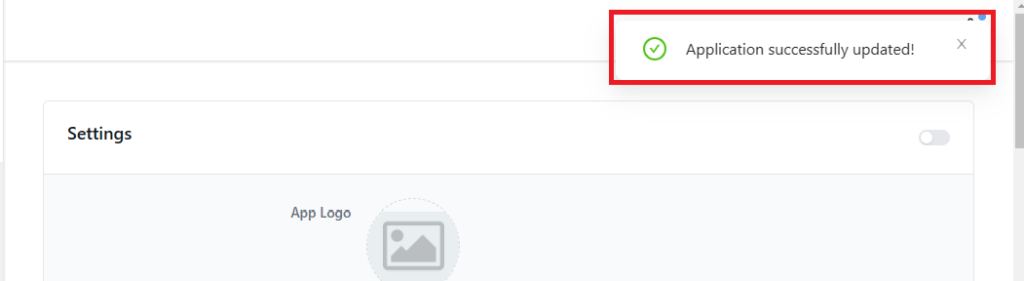
3. If you don’t have any new app existing, create a “New App“, and fill in your new App Name. After filling your App Name click “Save” and your new app name will appear on the site.
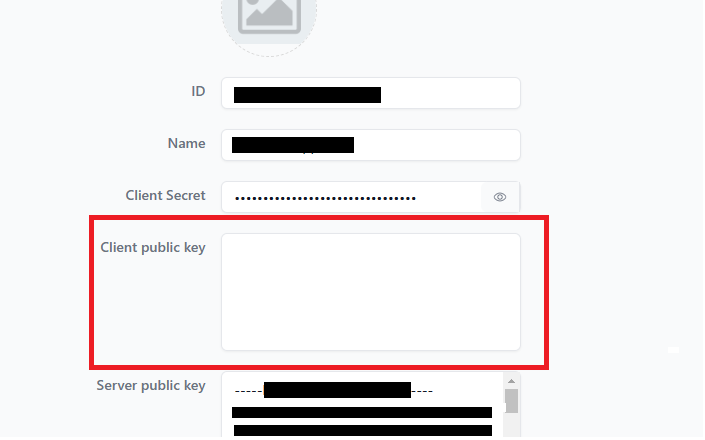
4. After the new app name appear, choose it and it will bring you to another page. You need to generate Client public key and paste inside this box. I will show you how to generate the Client public key in next step.
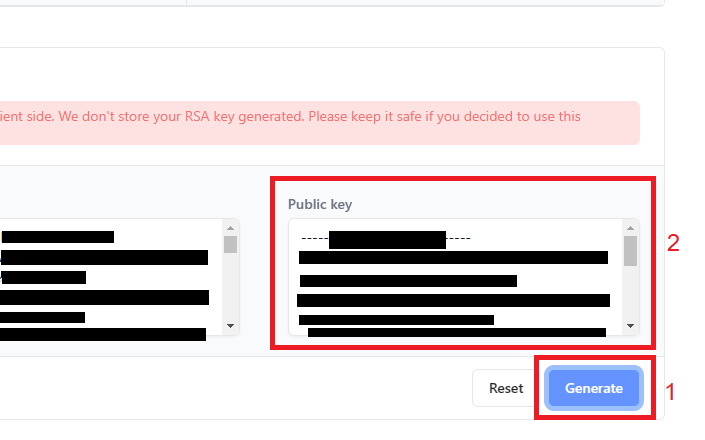
5. You just need to scroll down to bottom of the page, you will see a “Generate” Button, click it and the public key will be auto generated. You need to copy and paste Public key to above Client public key box then click “Save“.
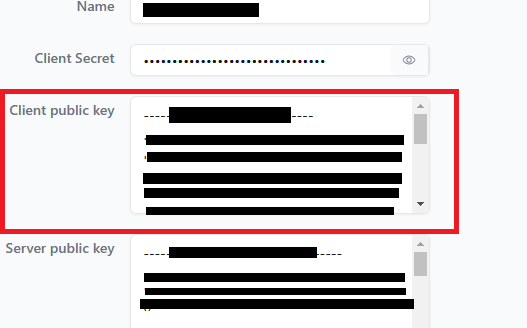
6. You had successfully setup in Revenue Monster website.
How to set up Revenue Monster payment to BIG POS Web admin?
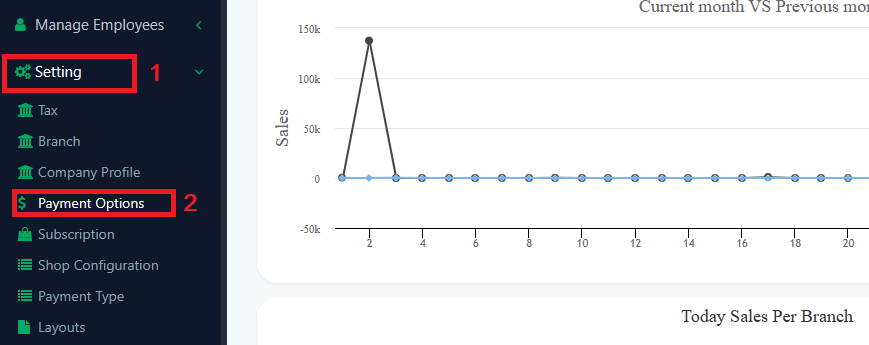
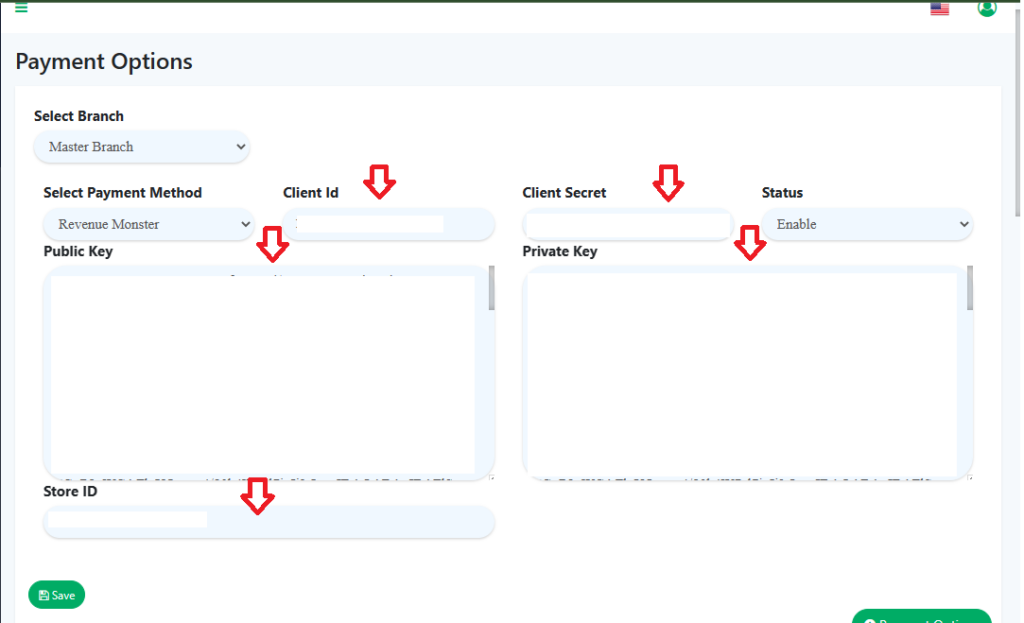
- First of all, go to “Setting” and choose “Payment Options“.
2. Then, Go to Select Payment Method and choose “Revenue Monster“.
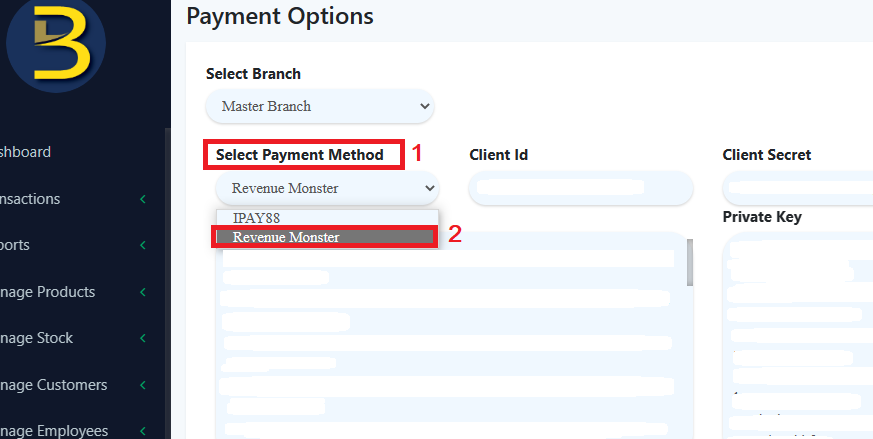
3. After choosing “Revenue Monster“, you need to key in Revenue Monster information data such as Client Id, Client Secret, Public Key, Private Key, and Store ID from Revenue Monster official website and click “Save”. That is how to set up your Revenue Monster payment setting.

4. You can find “Client Id, Client Secret, and Public Key at Developer->Applications.
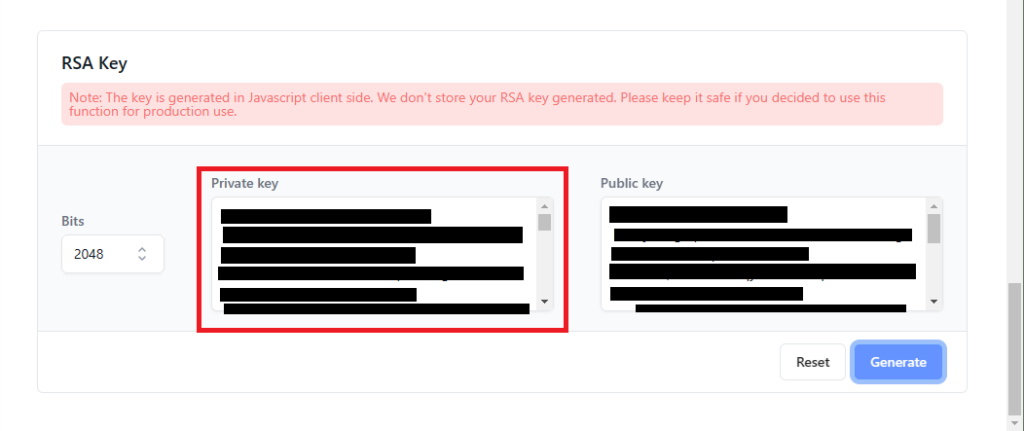
5. For the Private Key, you can find at the bottom page at Developer->Applications.
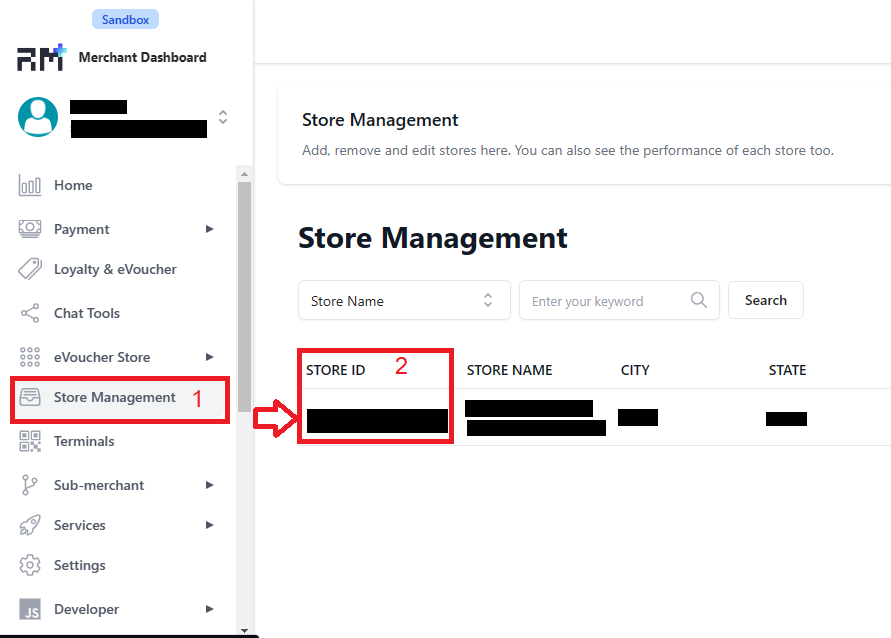
6. For the Client Id, you can find at the “Store Management“.
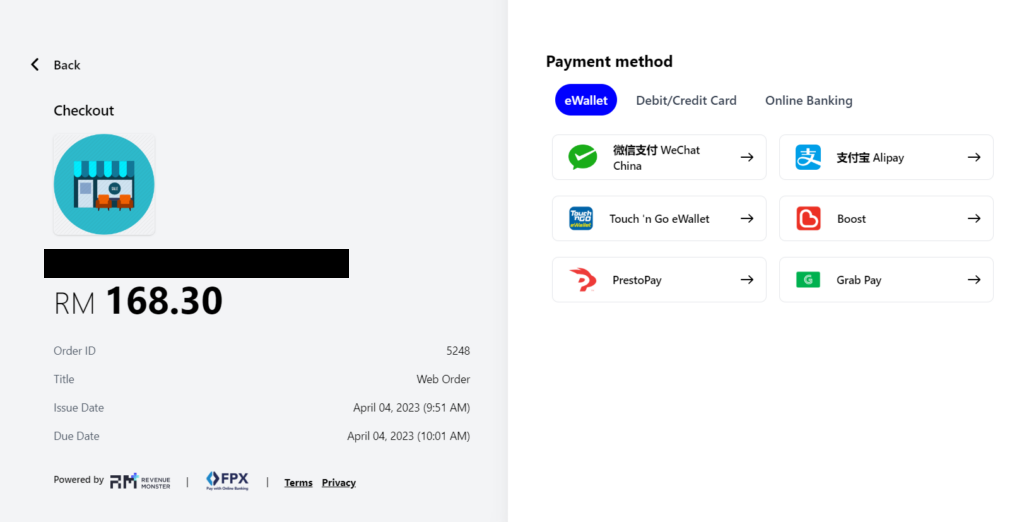
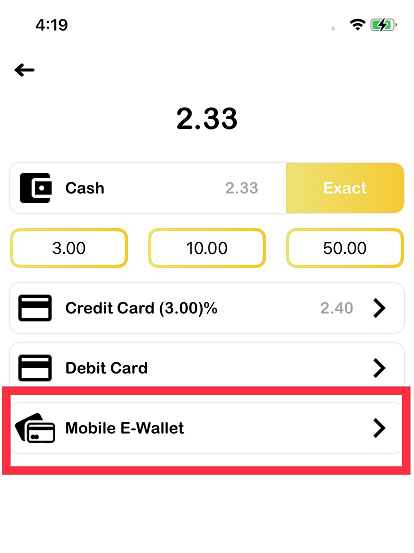
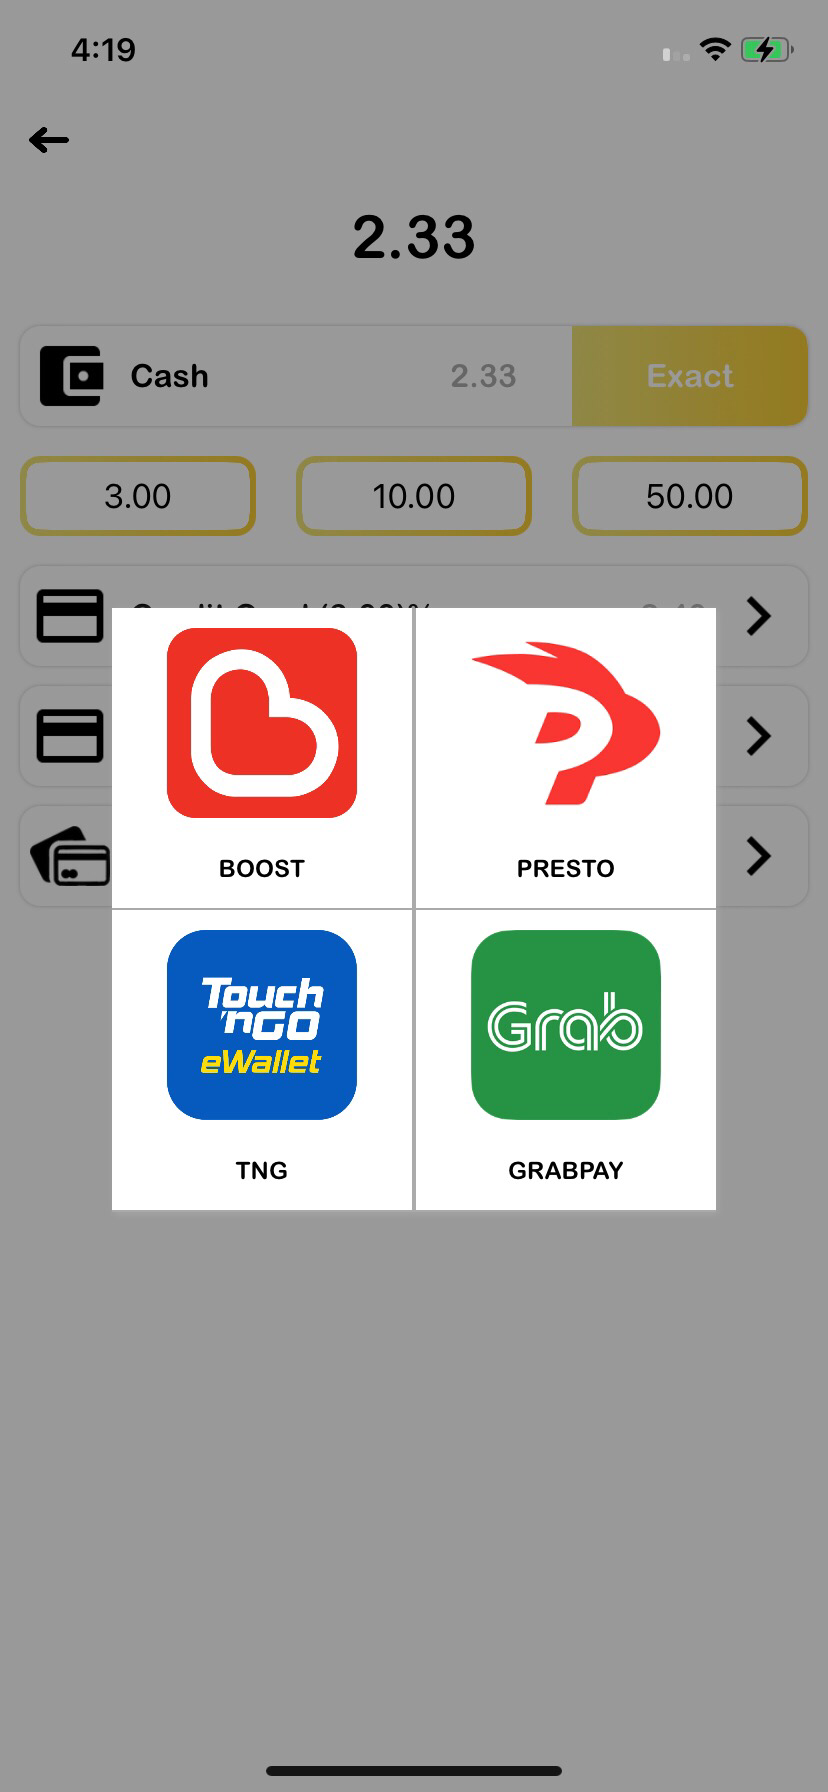
6. Revenue Monster in app payment will be like below image. You need to choose “Mobile E-Wallet” and choose which Mobile E-Wallet types you want to proceed your payment.
How to set up Revenue Monster payment to BIG POS QR Menu?
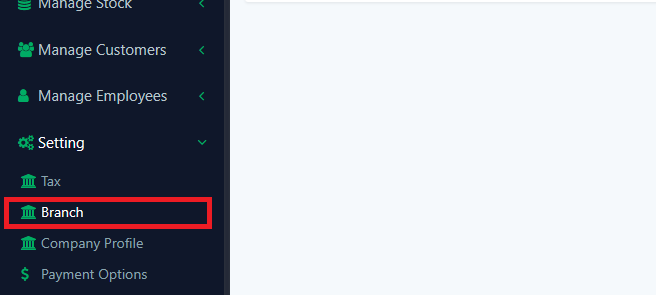
- First, you need go to the “Branch”.
2. Then click update or add new branch if you don’t have any branch.
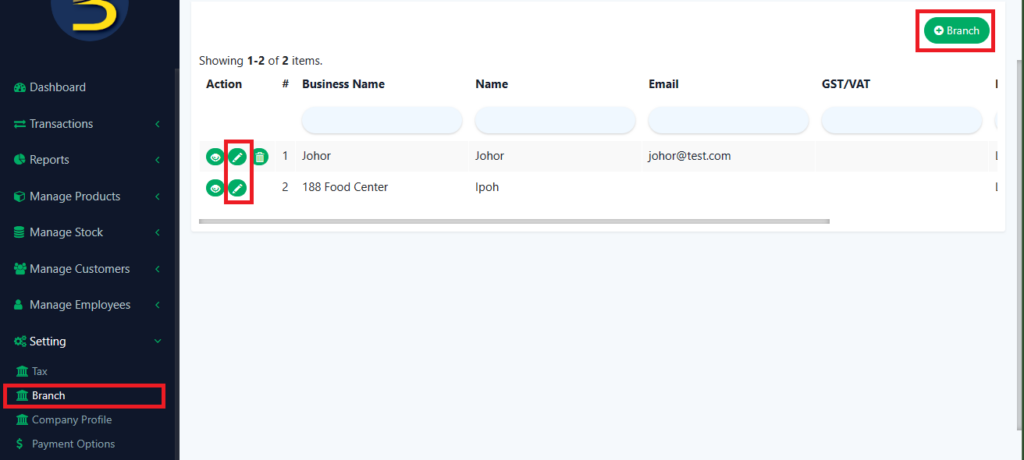
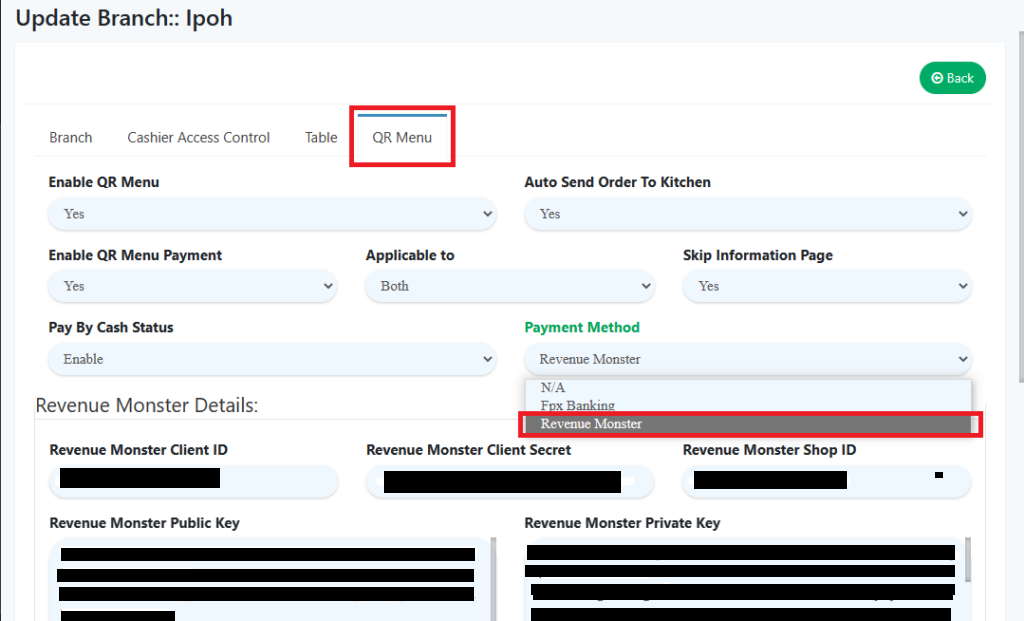
3. After that, click on “QR Menu“. Go to Payment Method change it to “Revenue Monster” and you also need to key in Revenue Monster information data such as Client Id, Client Secret, Public Key, Private Key, and Store ID.
4. Revenue Monster in QR payment will be like: