How to set up Revenue Monster in web admin and use merchant scan or user scan in BIG POS Self-Ordering Kiosk (SOK).
Introduction
In BIG POS systems are available with Revenue Monsters. There are types of E-Wallet payments such as Touch n Go, Boost, and more to proceed with the payment.
How to set up Revenue Monster in BIG POS Web admin?
- First of all, go to “Setting” and choose “Payment Options“.
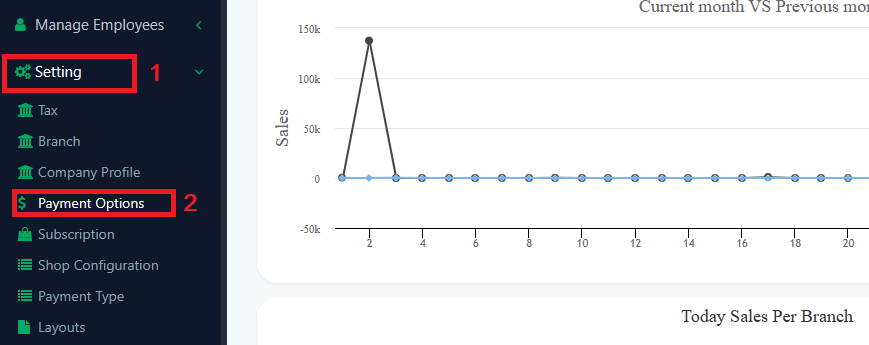
2. Then, Go to Select Payment Method and choose “Revenue Monster“.
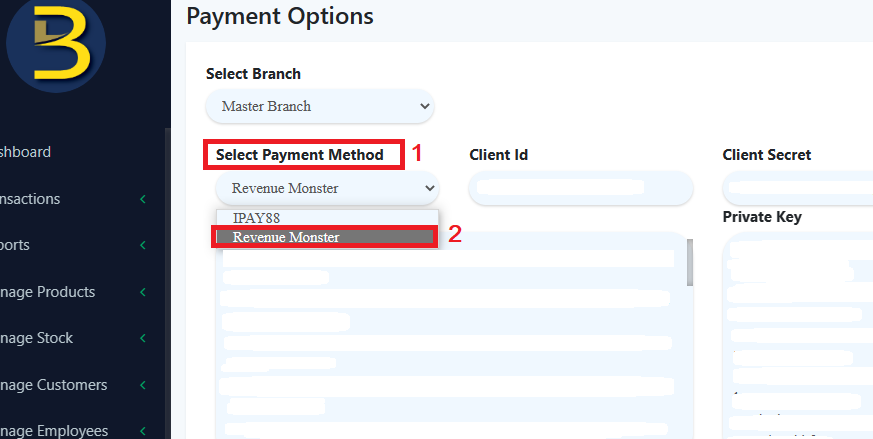
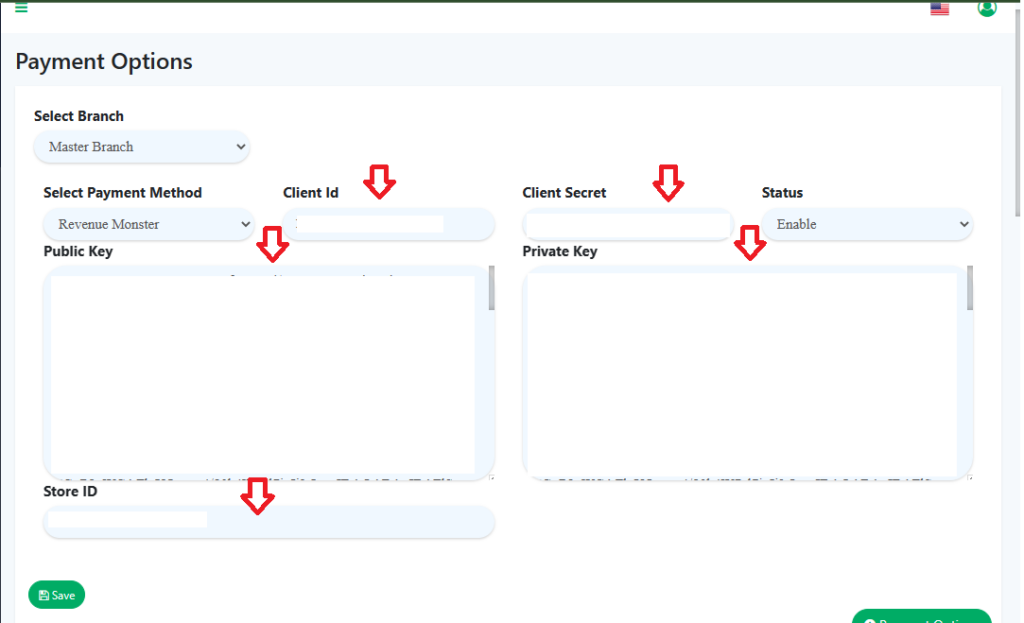
3. After choosing “Revenue Monster“, you need to key in Revenue Monster information data such as Client Id, Client Secret, Public Key, Private Key, and Store ID from Revenue Monster official website and click “Save”. That is how to set up your Revenue Monster payment setting.
How to use Revenue Monster in BIG POS Self-Ordering Kiosk (SOK) with Merchant Scan or User Scan?
Merchant Scan
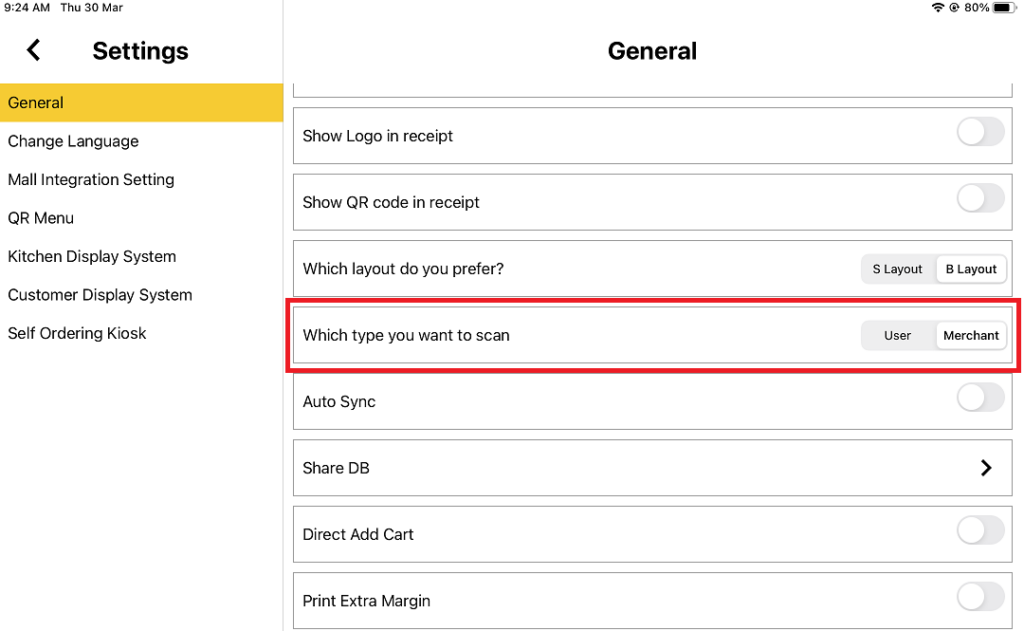
- First, you need to go to the BIGPOS Pro app, go to “Setting“, toggle to “Merchant” scan, and remember to sync the app.
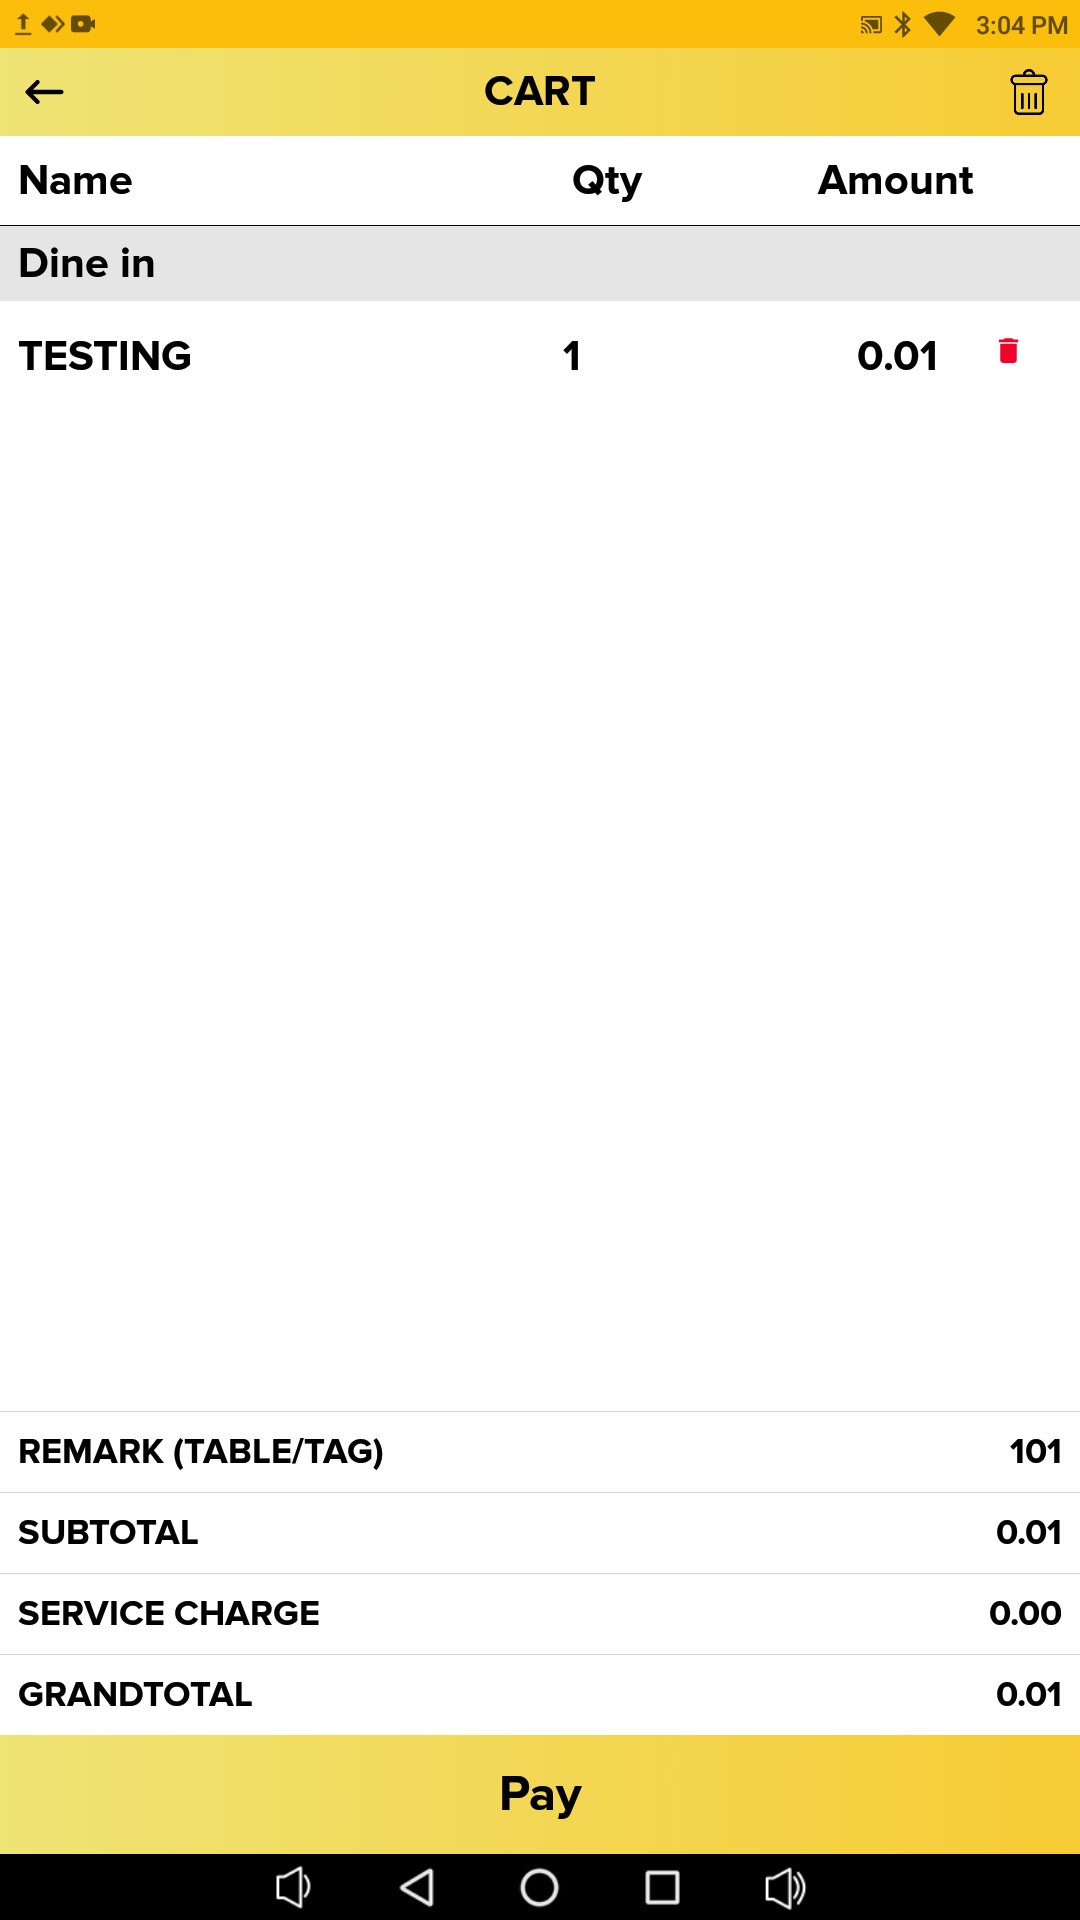
2. After that, you need to add orders to your cart and click “Pay” on the Kiosk Machine.

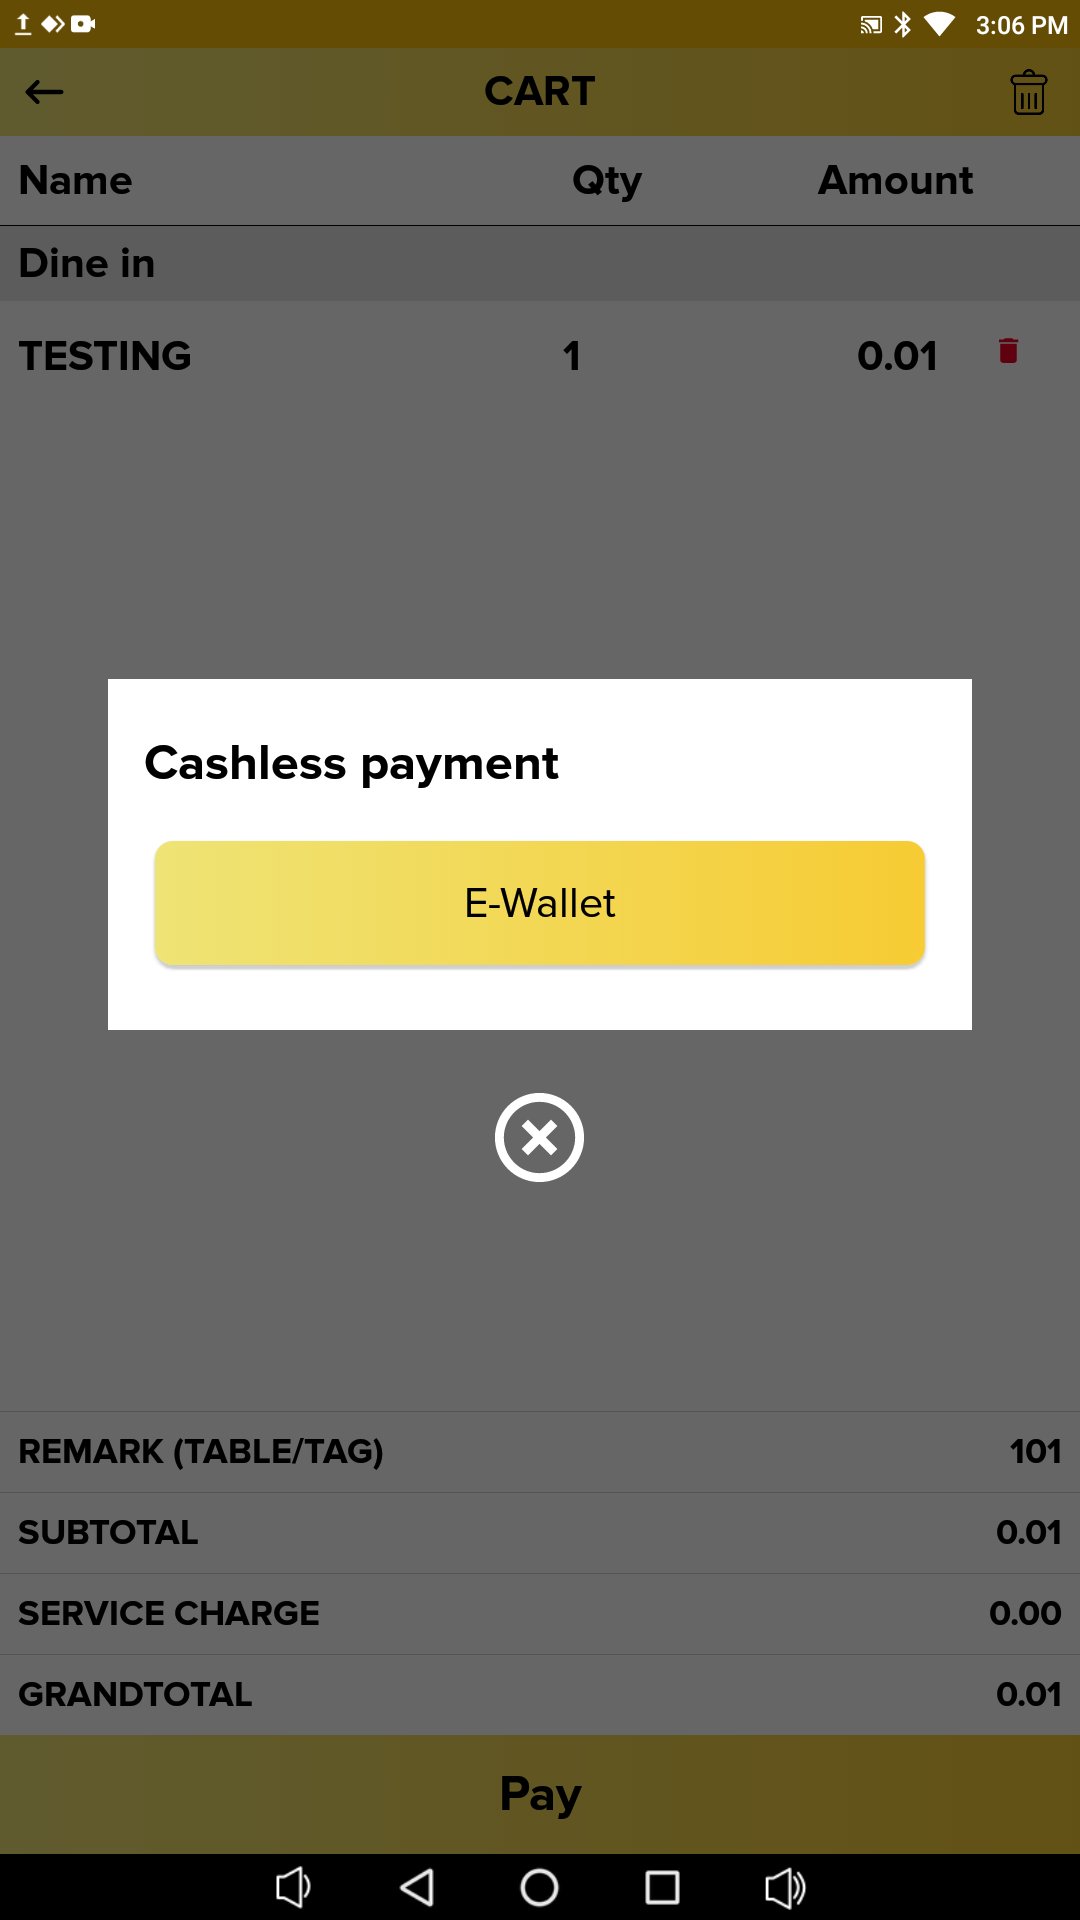
3. Then, you need to click on “E-Wallet” to continue payment.
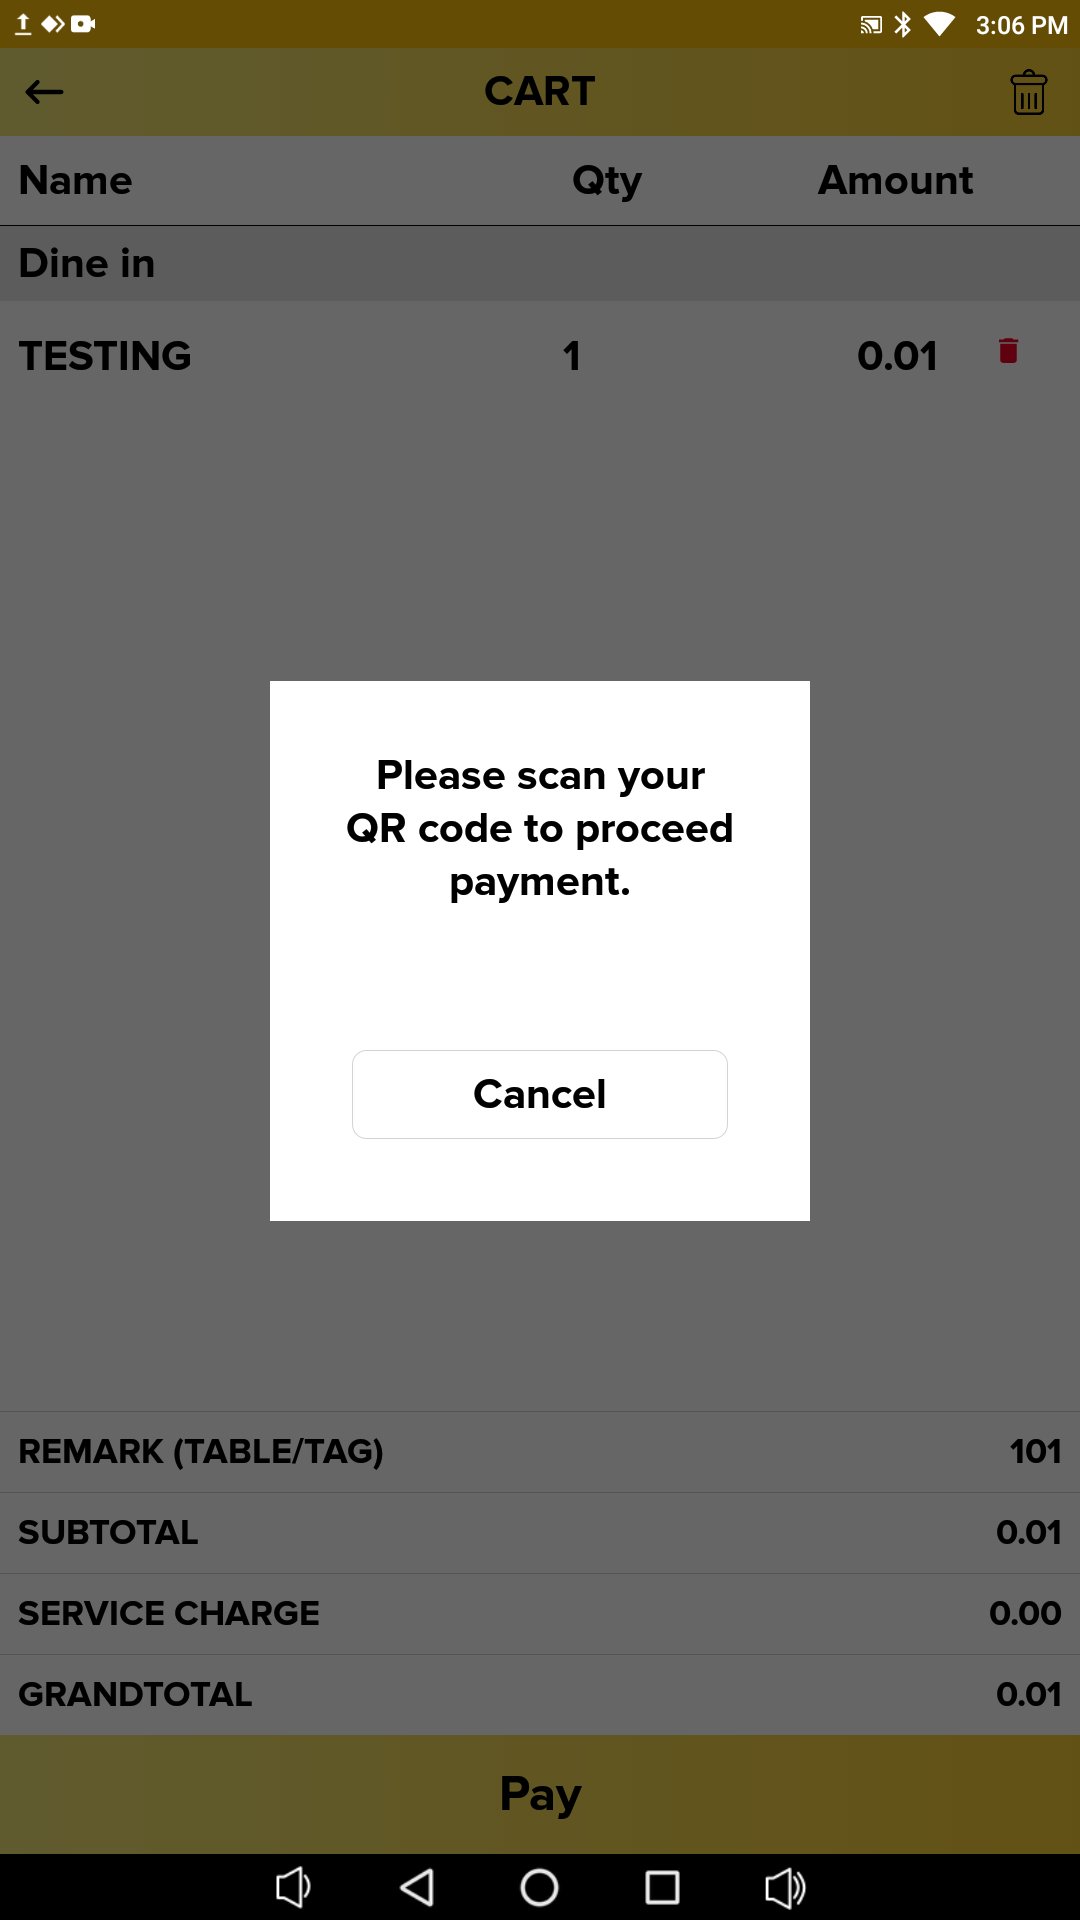
4. When this message pops out ‘Please scan your QR code to proceed payment.’, you need “open your E-Wallet QR Code” to get scanned by the Kiosk Machine.
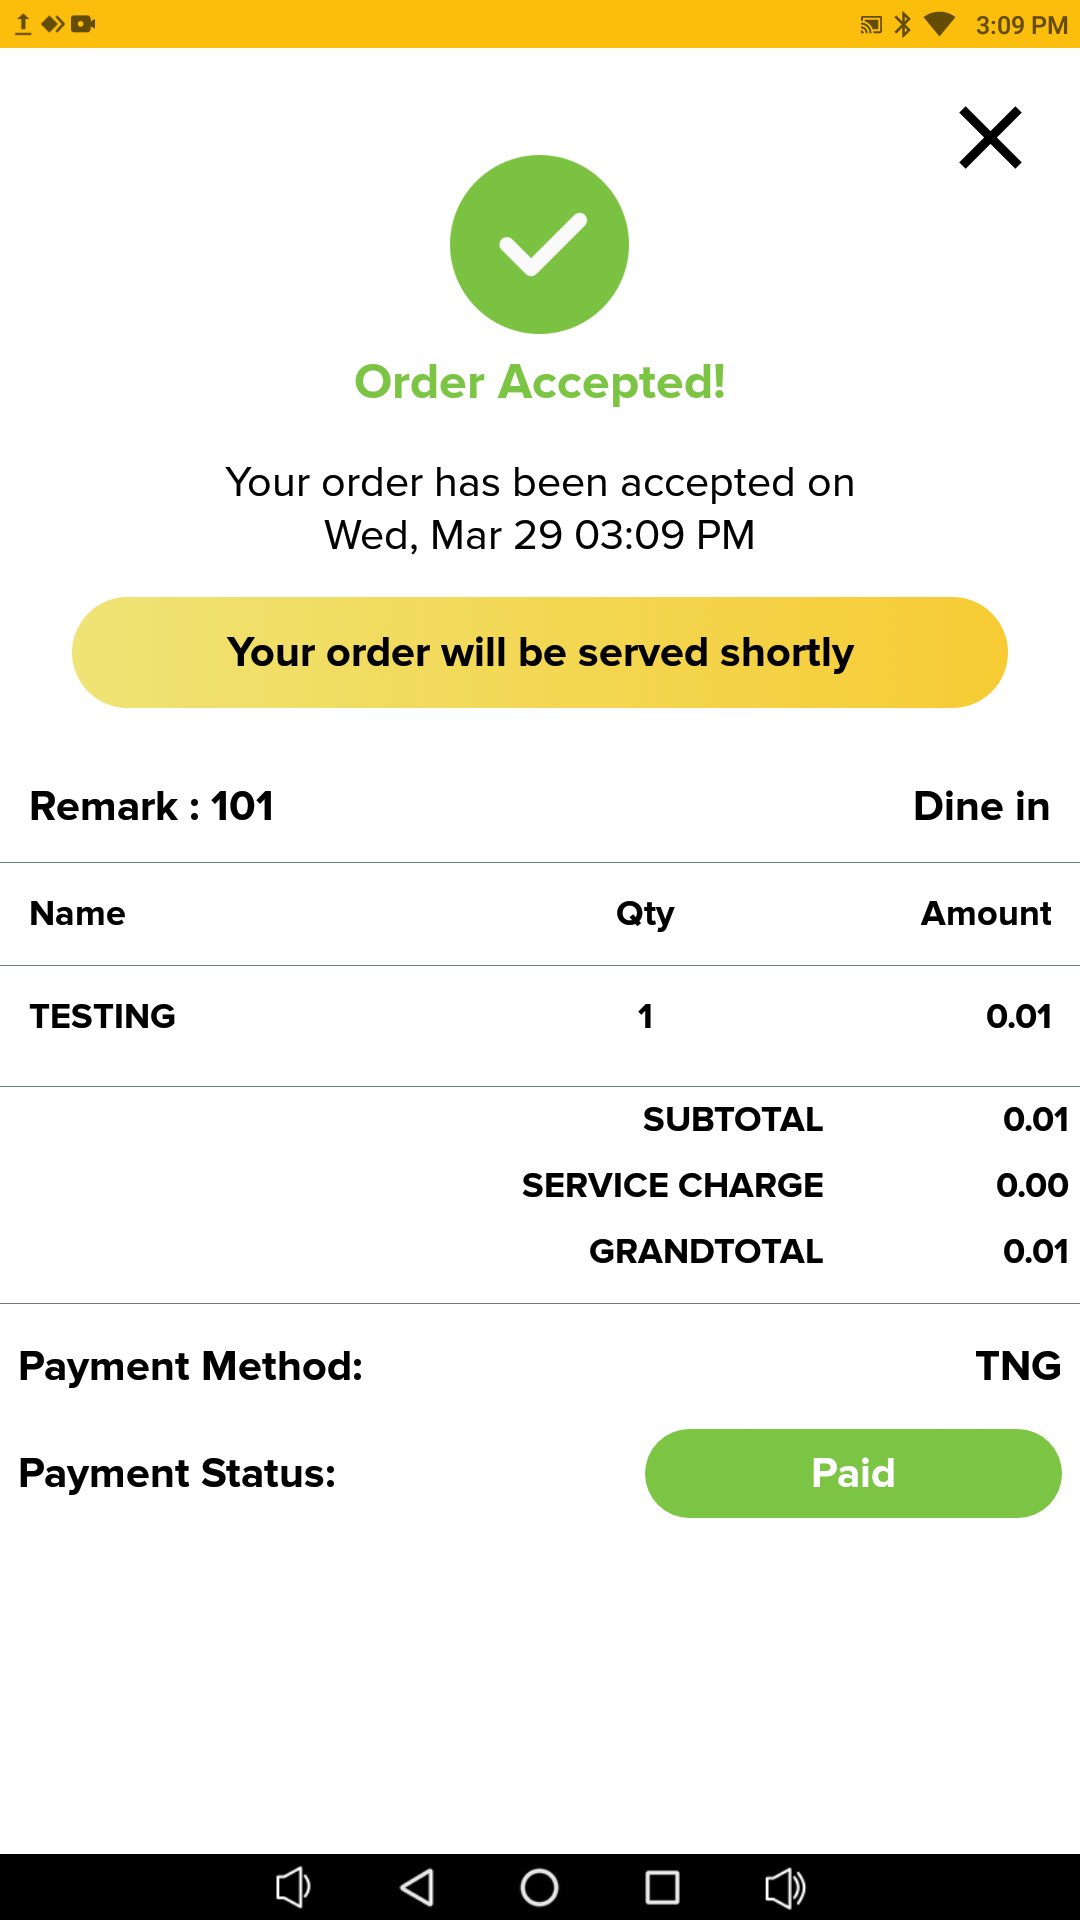
5. Finally, the payment is done with Revenue Monster, and you can check out the payment method on Kiosk Screen or on the receipt.

User Scan
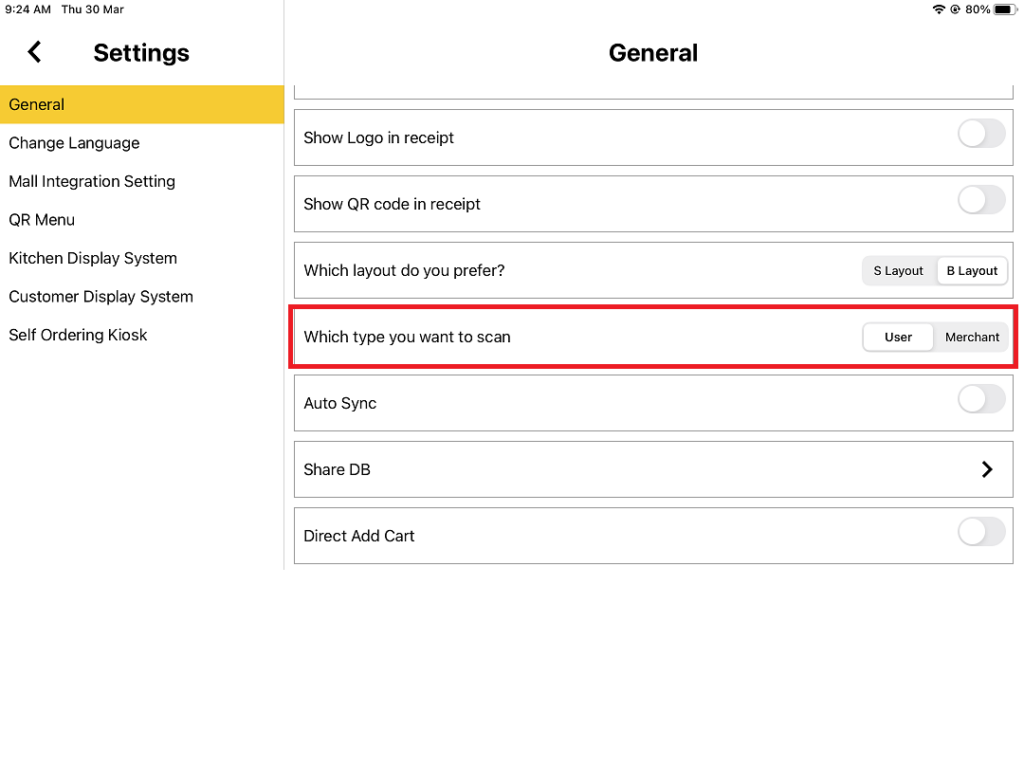
- First, you need to go to the BIGPOS Pro app, go to “Setting“, toggle to “User” scan, and remember to sync the app.
2. After that, you need to add orders to your cart and click “Pay” on the Kiosk machine.
2. Then, you need to select one type of “E-Wallet” to continue payment.
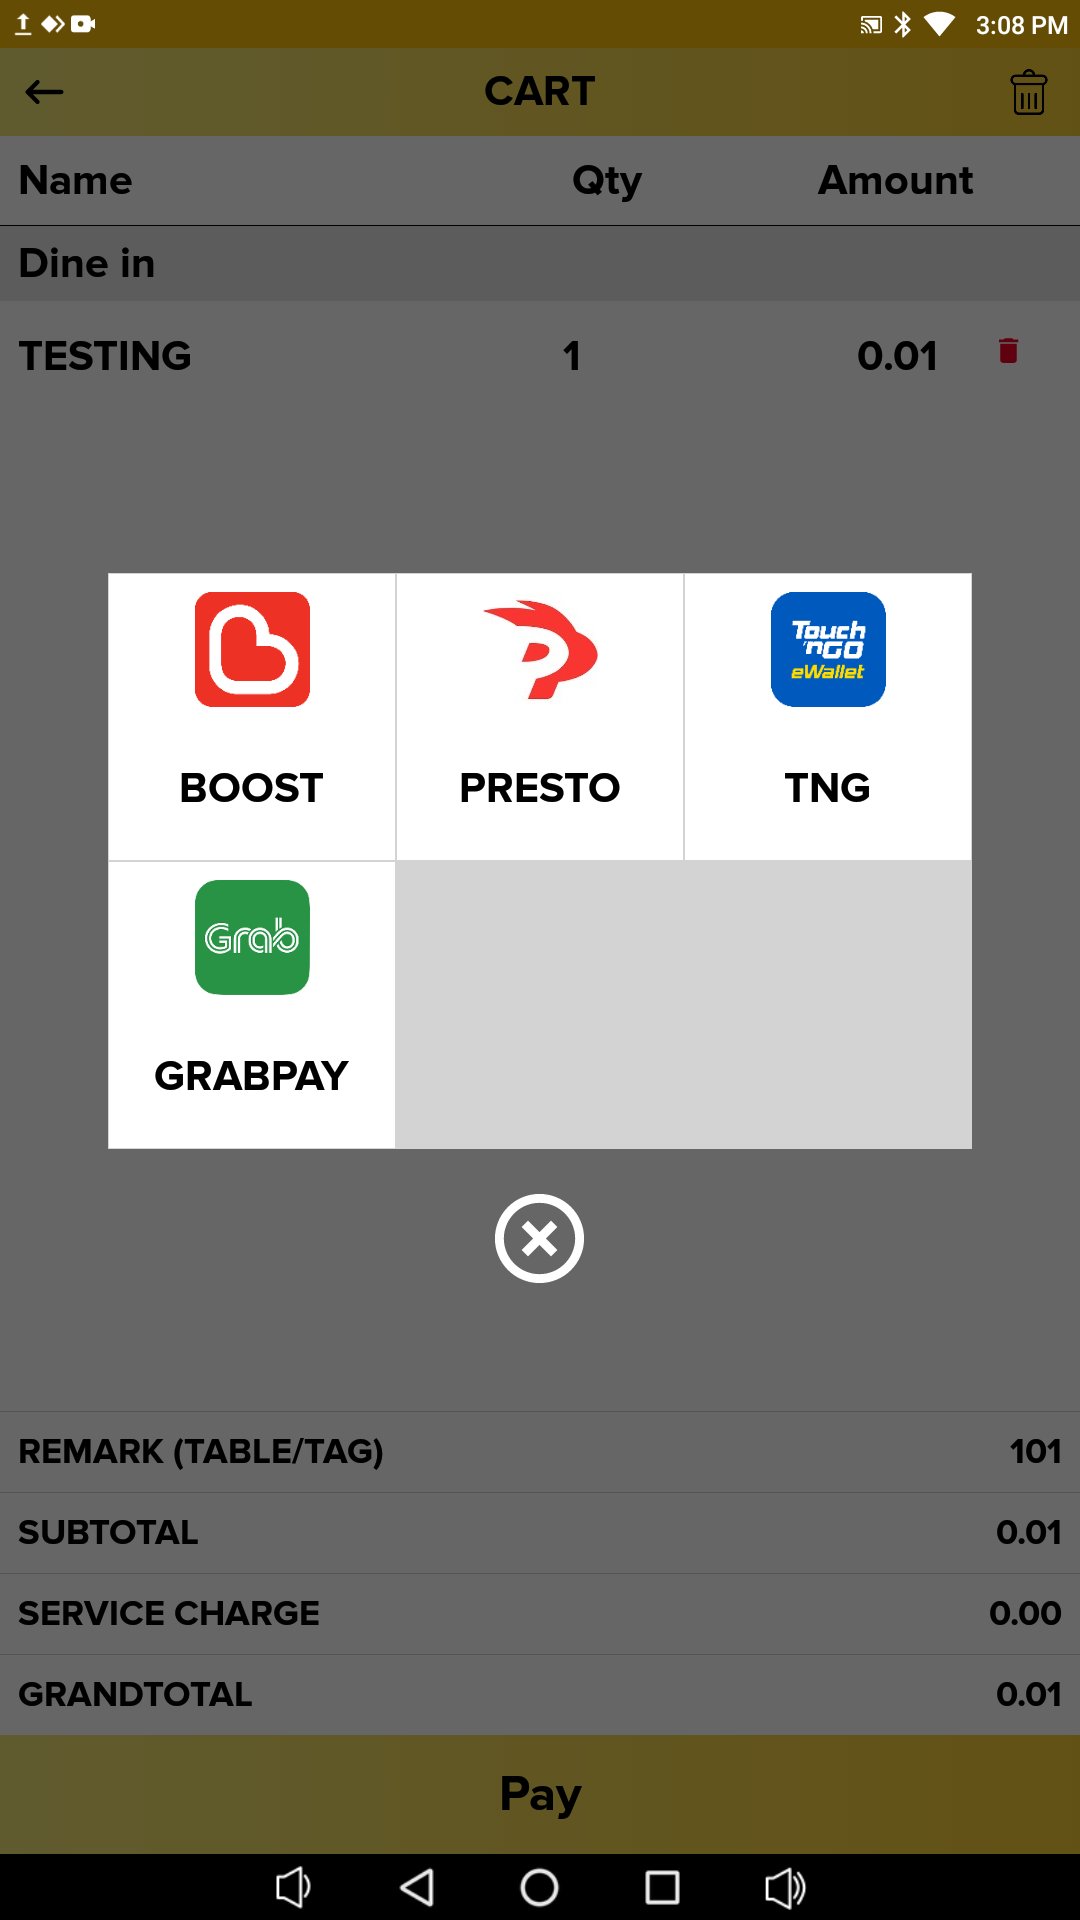
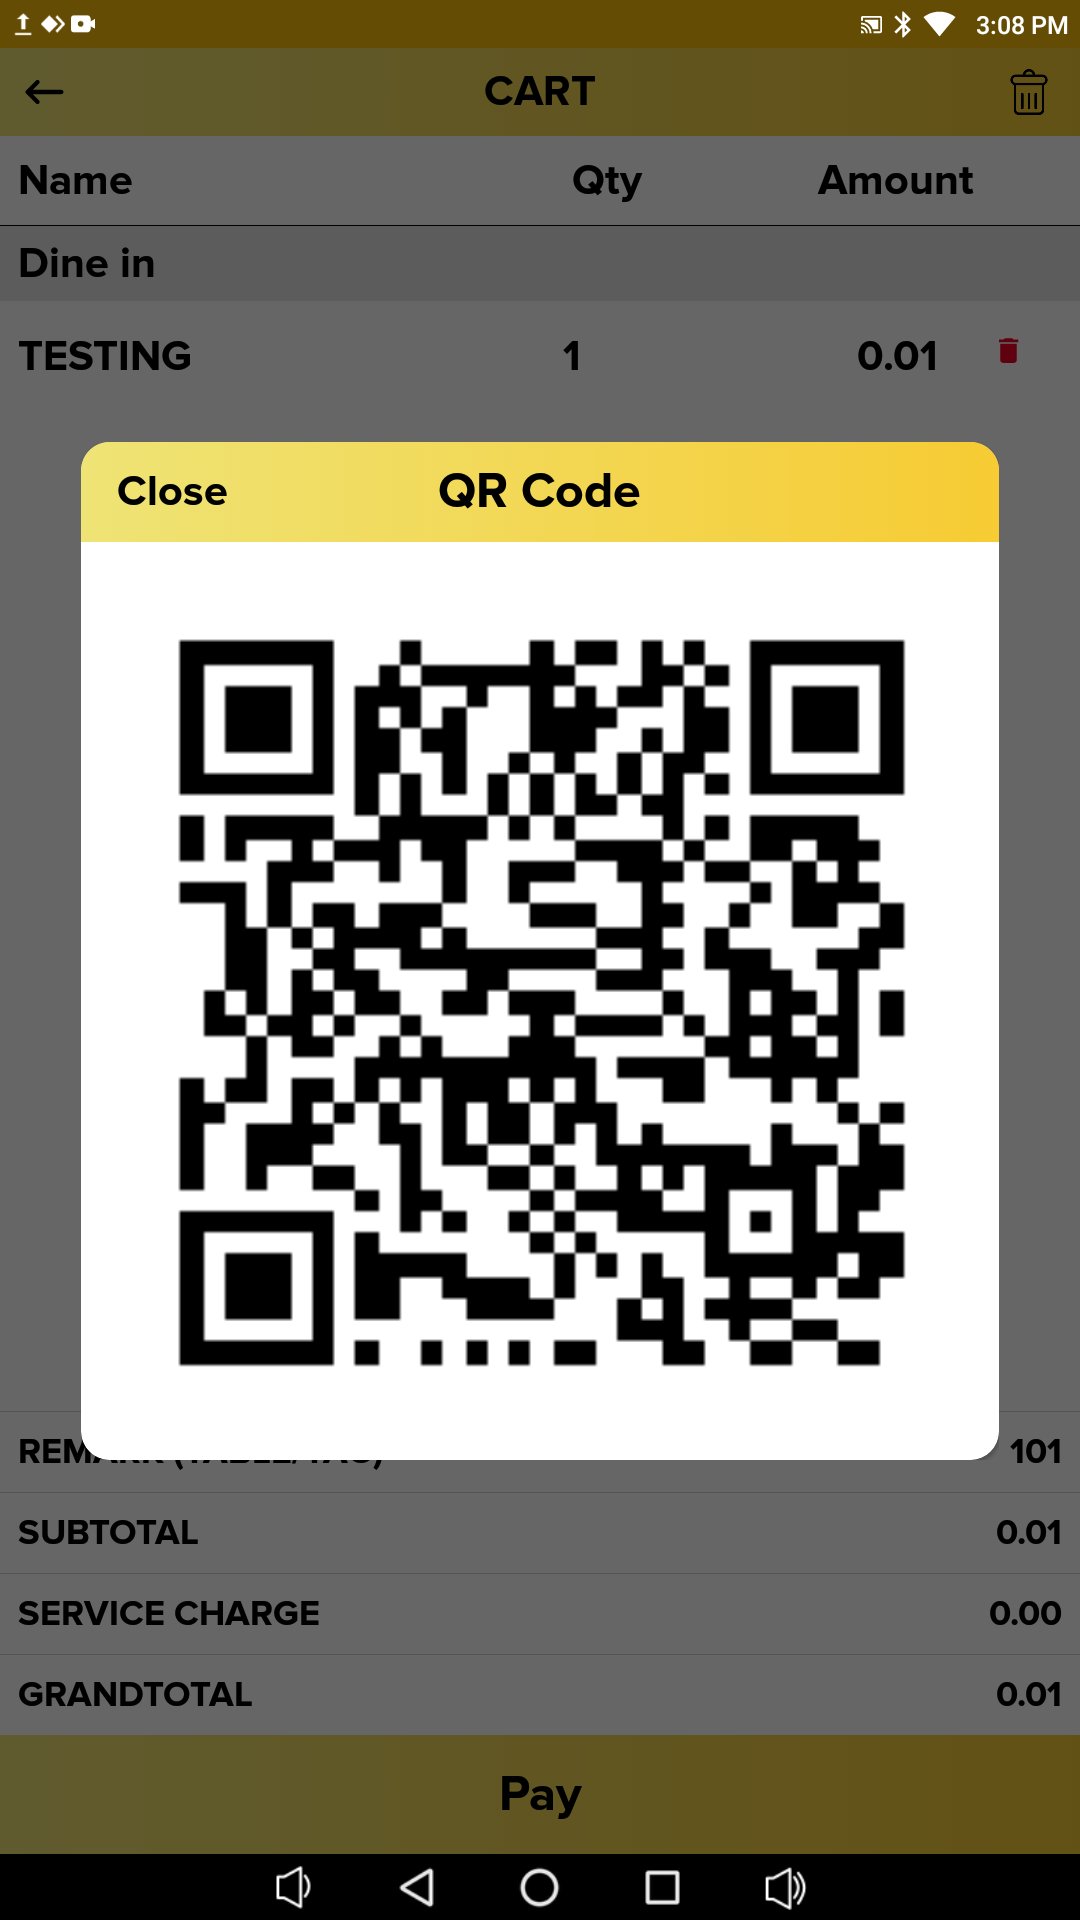
3. When the QR Code pops out, you need “Open your E-Wallet” to scan it to proceed with payment.
4. Finally, the payment is done with Revenue Monster, and you can check out the payment method on Kiosk Screen or on the receipt.