Category Management – How to create/update or delete categories in web admin?
Introduction
This post will guide you to create/ update or delete a category in web admin.
How to create/update or delete categories?
There are two ways to create categories.
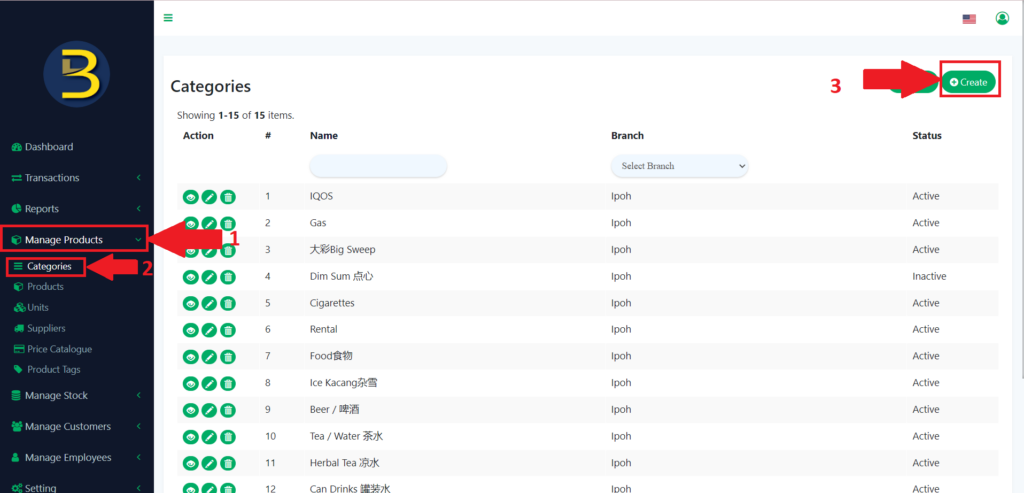
- On the left side panel, look for “Manage Products” expand.
- After expanding, you need to click “Categories”.
- It will bring you to the category page, then you need to click on the “Create” icon to redirect you to creating the category.
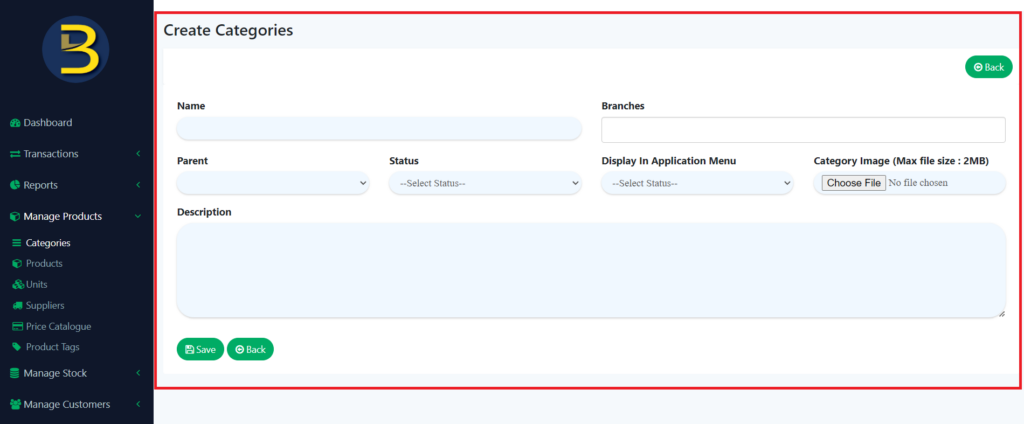
4. When you are at creating the category page, you need to fill in the detail of the category that you want to create.
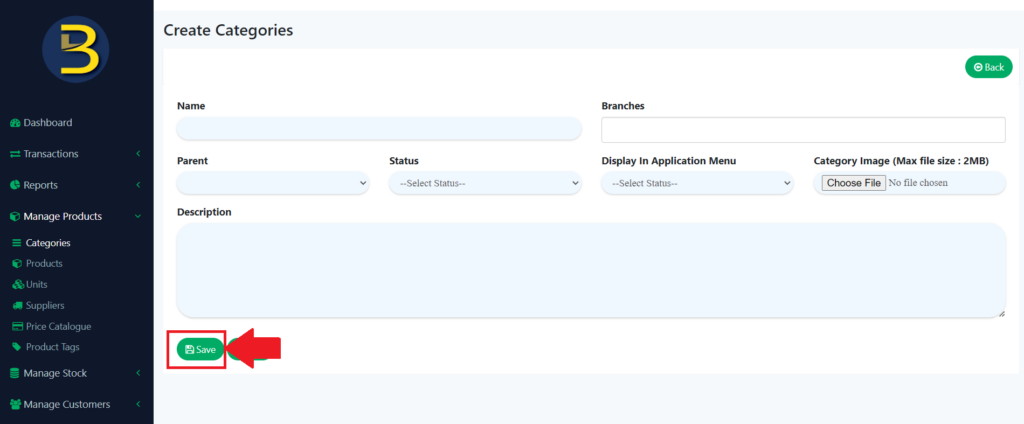
5. At the end, you need to click the “Save” icon to save your category.
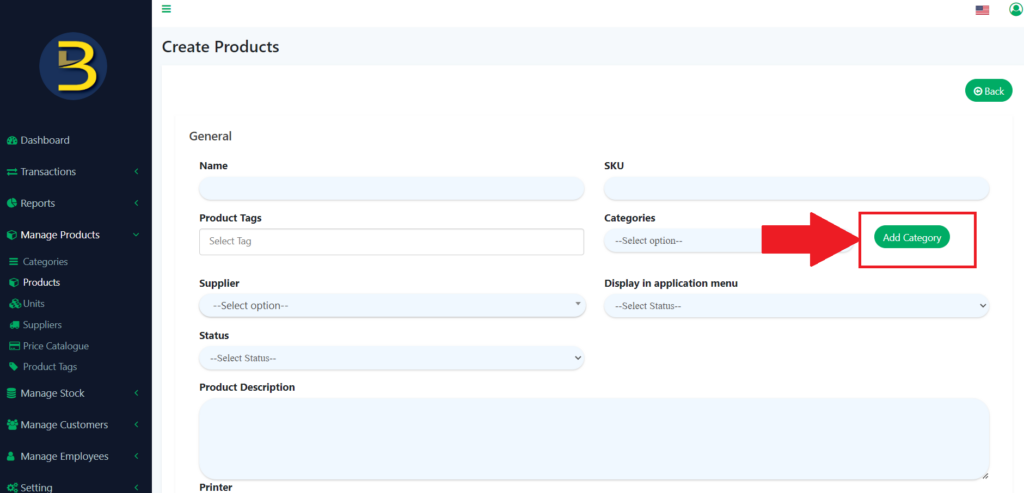
6. Another way to create a category, is when adding or updating a product.
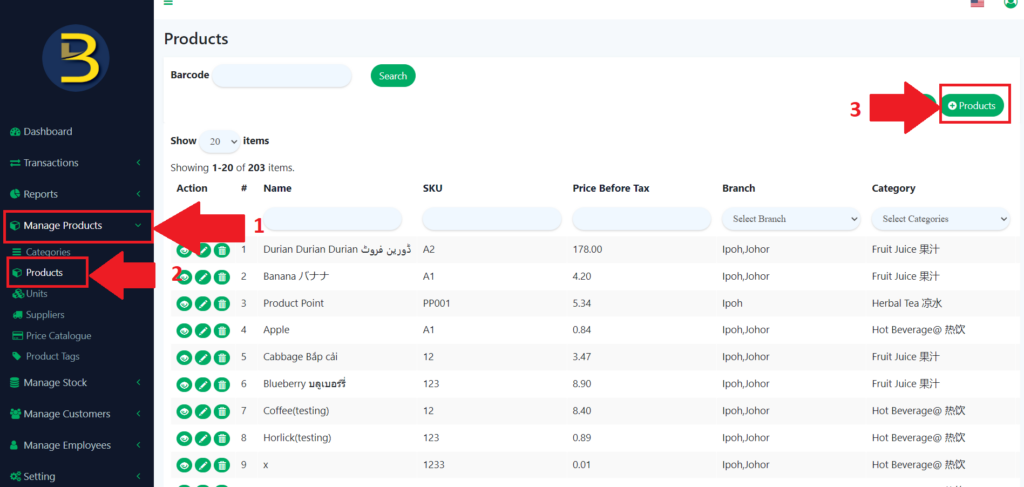
7. When you are redirected to the creating product page, you click on the “Add Category” button to add a new category.
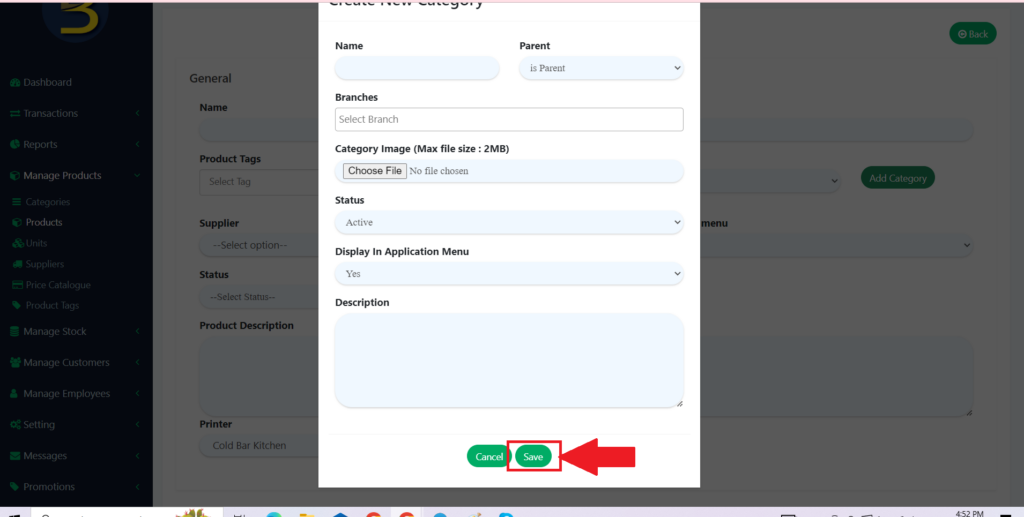
8. Then, you fill in the detail of the category that you want to add and then click on “Save” icon.
Update the detail of the Category
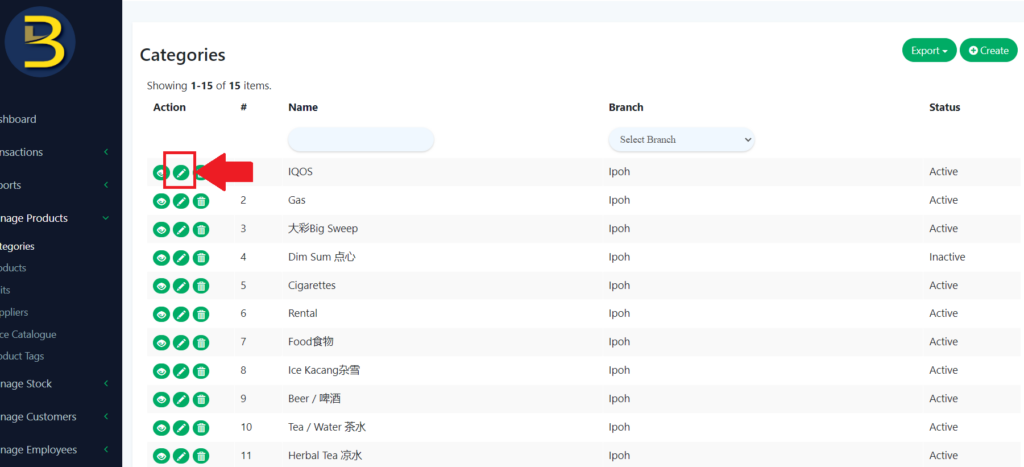
9. To update the detail of the category, you need to go to the pencil icon to update the detail of the category
10. You need to update the detail of the existing category and then remember to click the “Save” icon to keep the updated version.

Delete certain Category
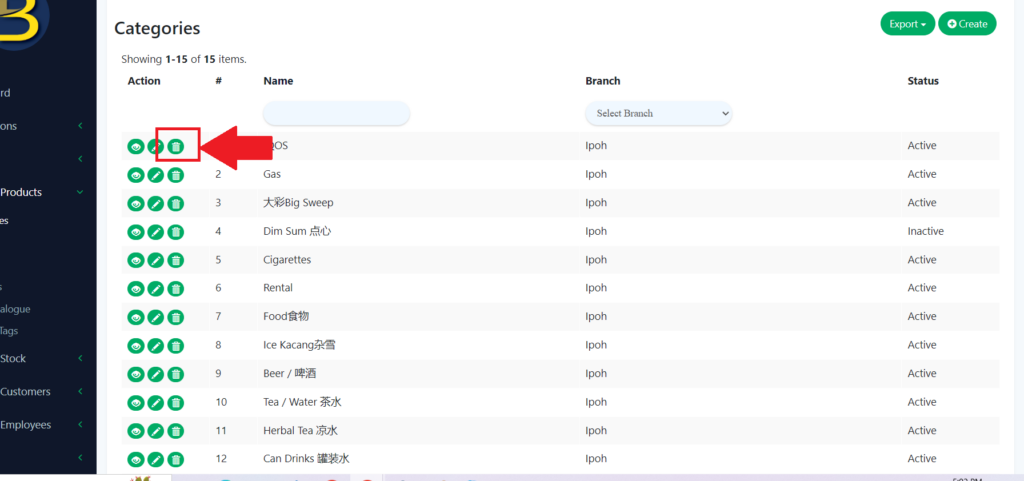
11. To delete the category, you just need to click on the dustbin icon.
12. Then, it will pop up an alert message to confirm whether delete the category.
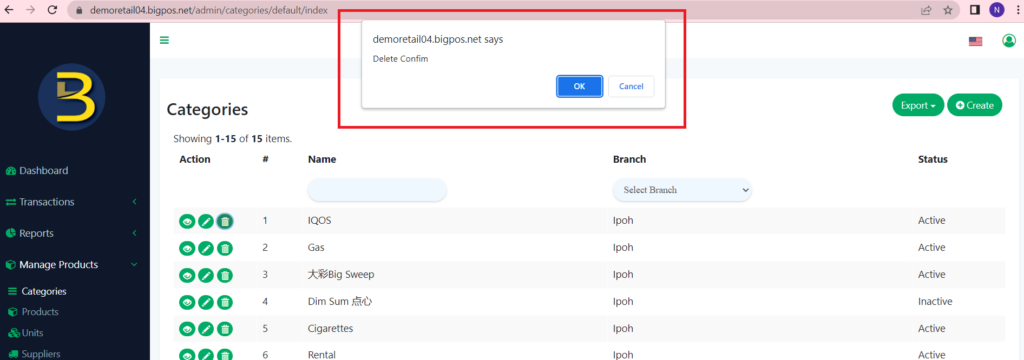
13. When you click “Yes” button, the category will be deleted.