How to create an SOK layout and Main POS layout in web admin?
Introduction
SOK means self-ordering kiosks. This post will guide you on how to create the SOK layout in the web admin.
How to create a SOK layout and Main POS layout in web admin?
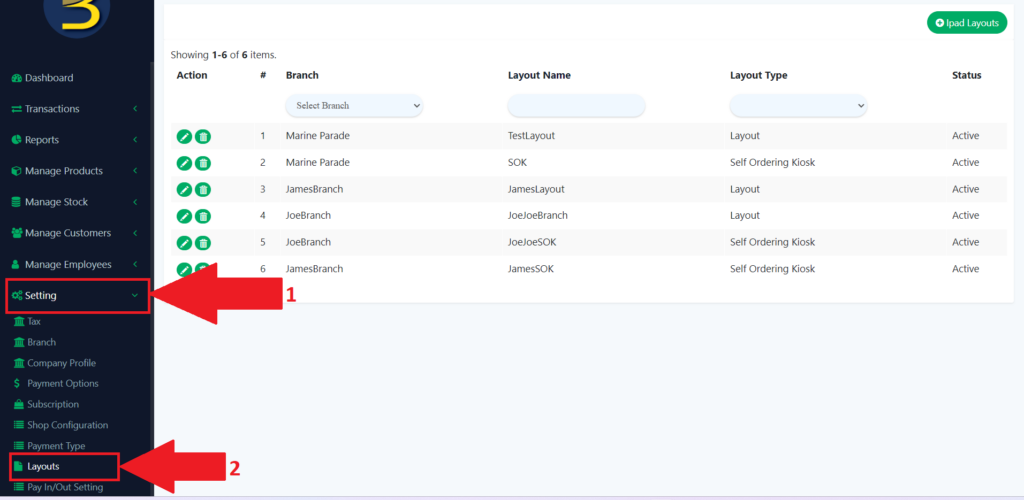
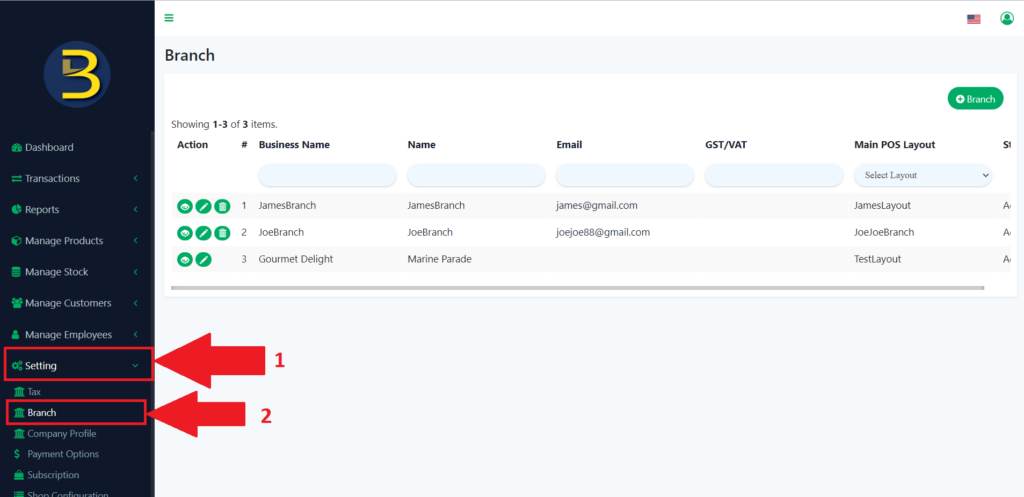
- First, go to “Setting” on the left panel to expand the subcategory.
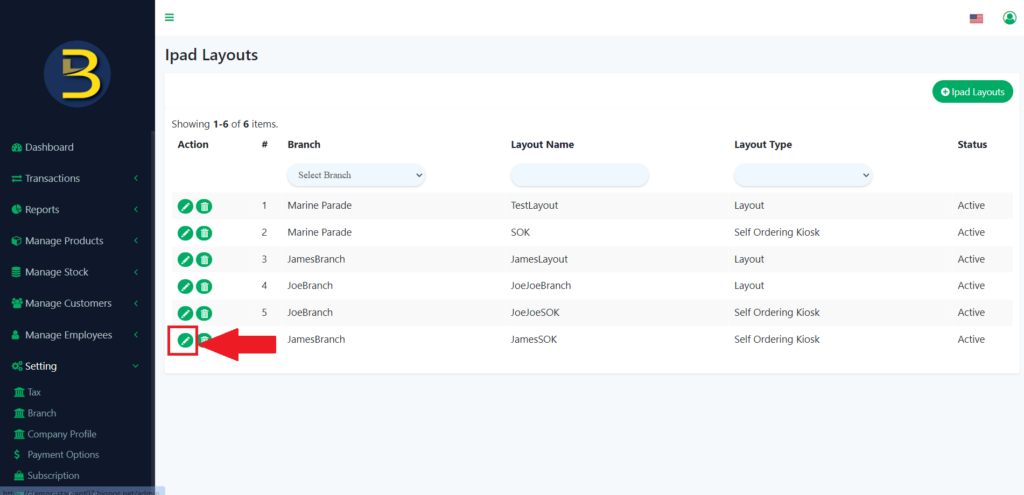
- Then from the subcategory look for the “Layouts” to redirect you to the layout page.
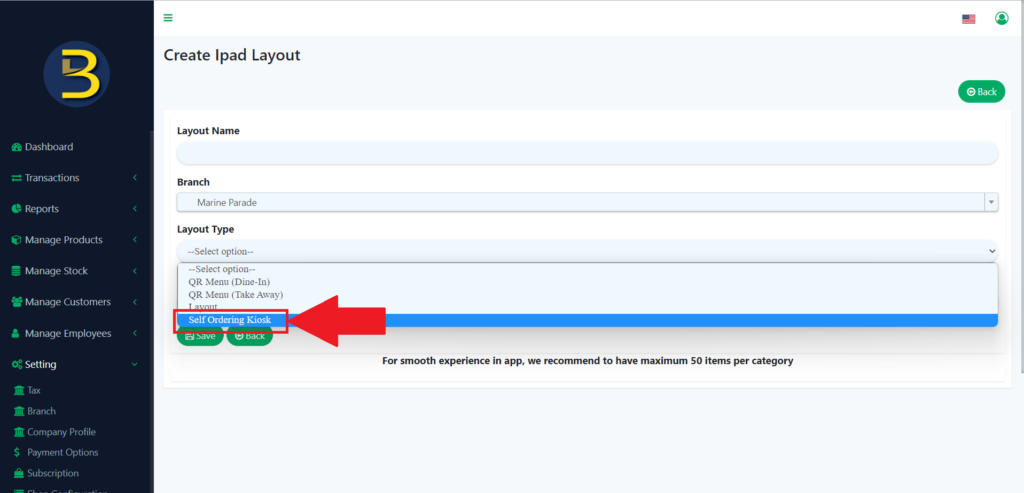
3. Then, you click on “+ Ipad Layouts” to create a new layout.

4. Fill in details and the layout type, you need to choose the Self-ordering kiosk.
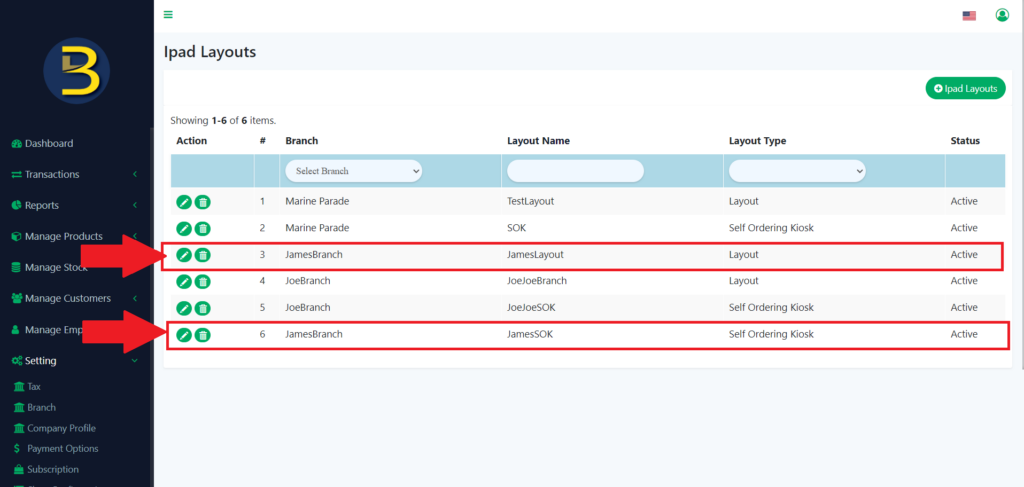
5. You need to create 2 layouts in 1 branch. One is for the Main POS layout, and the other is for the SOK app layout.
6. Then go to “Setting”, then select “Branch” to redirect to the branch page.
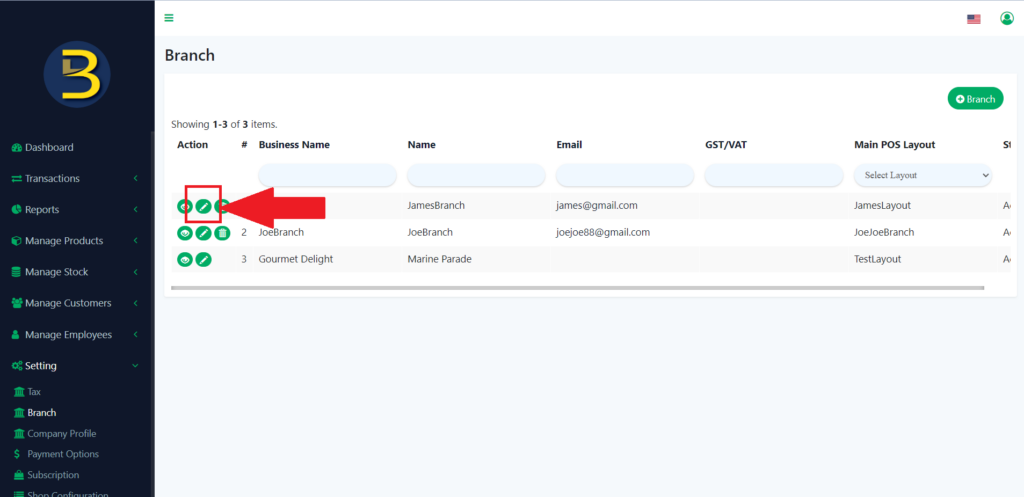
7. After that, click on the pencil icon/update button.
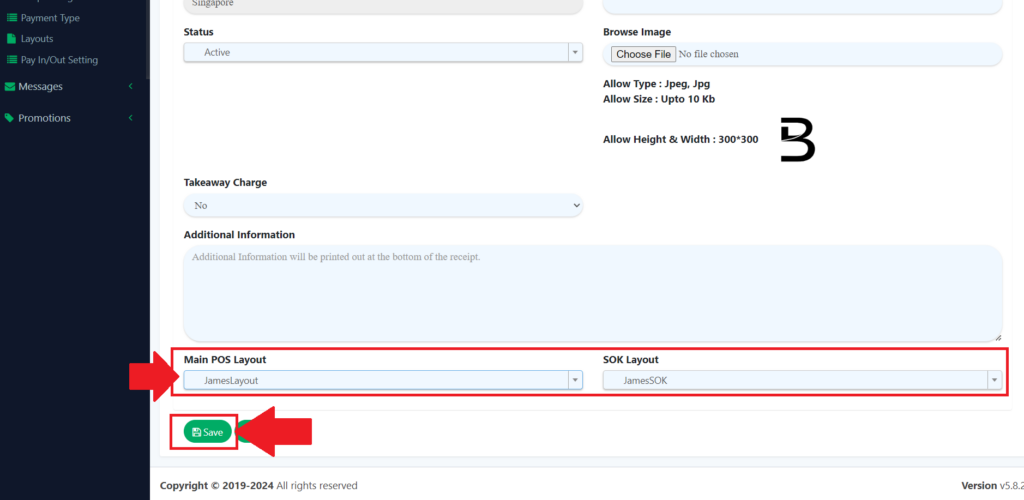
8. Then, scroll down to look for the Main POS layout and SOK layout to choose which layout you want to insert into the branch. Click the “Save” icon to save the changes you made.
9. If want to update the product list, you need to go to “Setting > Layout ” and click on the pencil icon to update.
10. If you don’t want the product to show out in SOK, then you drag the product to the left side and drop it. Then click on the “Save”.
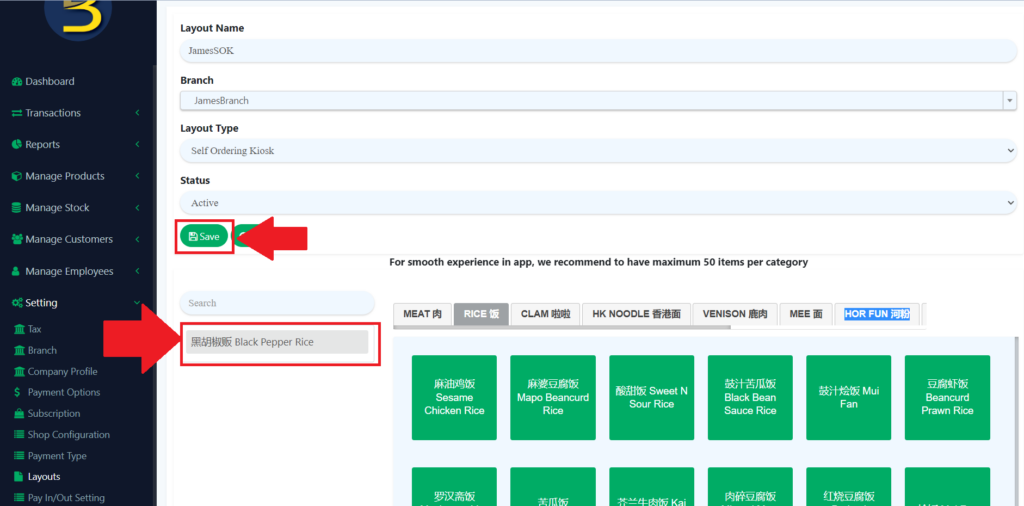
11. The product will not show in the SOK layout.
12. If you don’t want the product to show out in Main POS layout, then you drag the product to the right side and drop it. Then click on the “Save”.

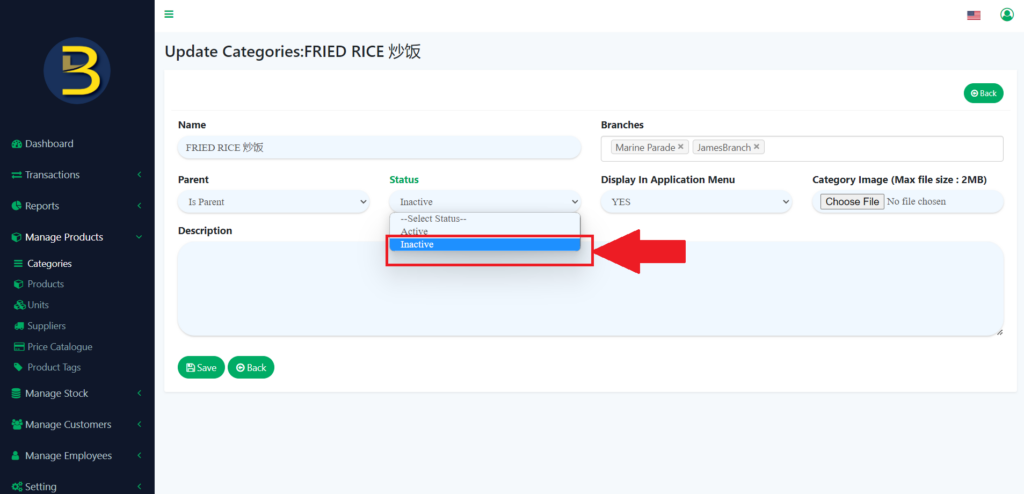
13. To hide the category, you need to go to the “Categories” under “Manage Products” and then click on the pencil icon to update the category.
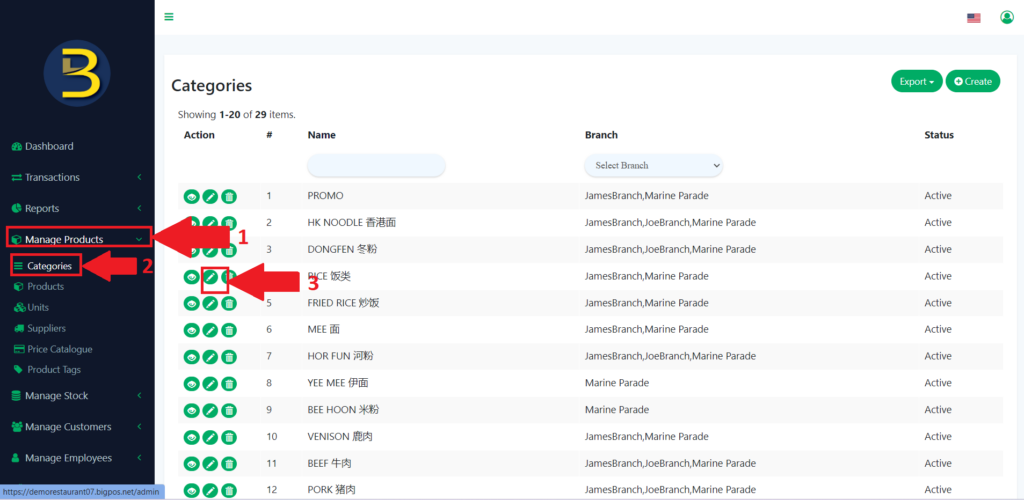
14. Then, change active to inactive status.
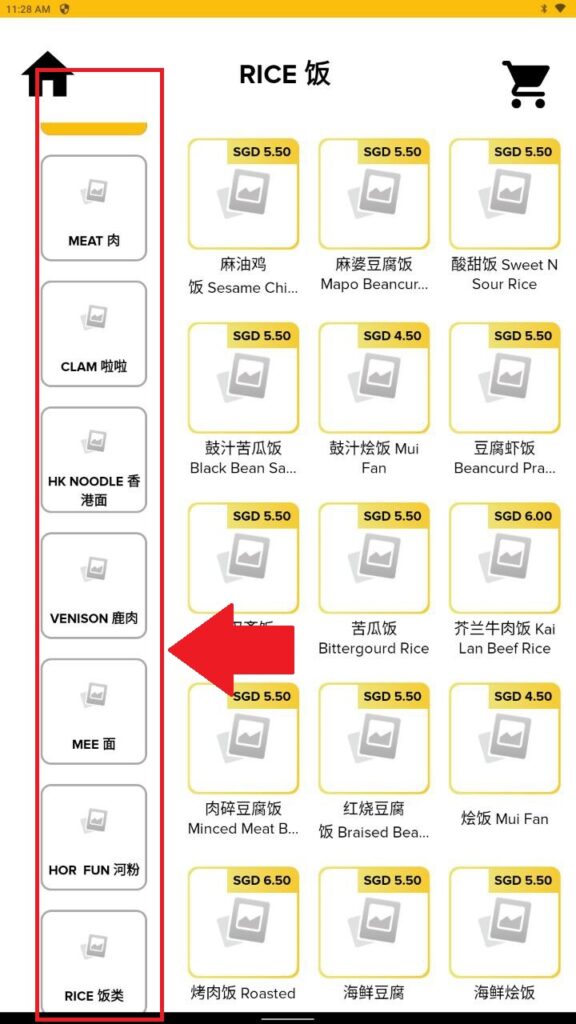
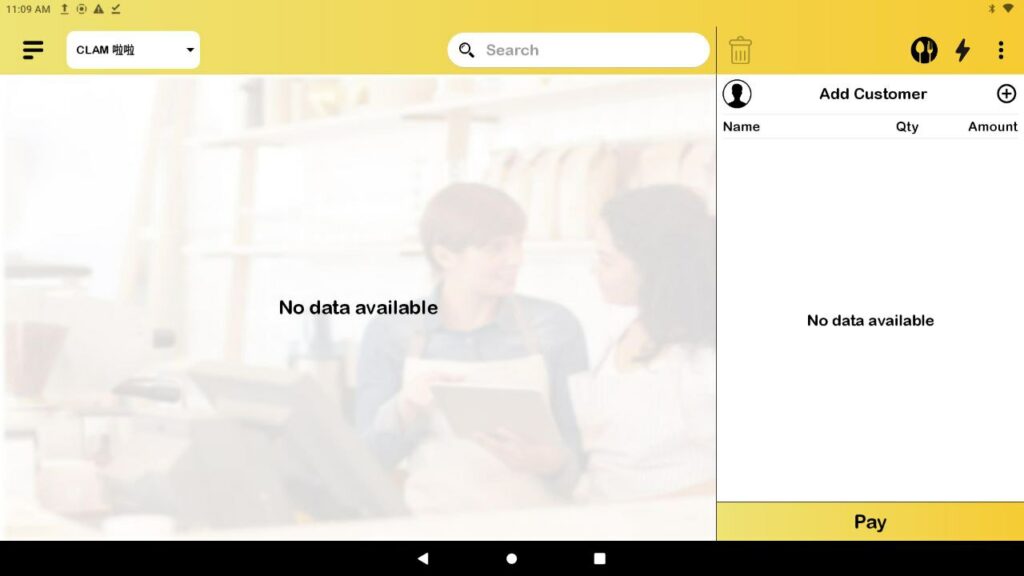
15. The layout in pro looks like this. (Category is hide)
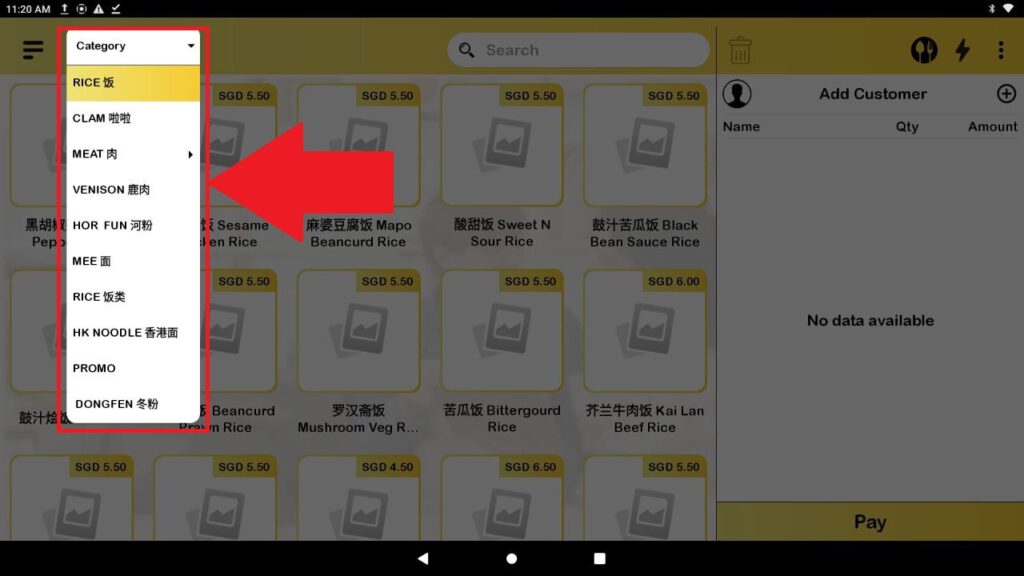
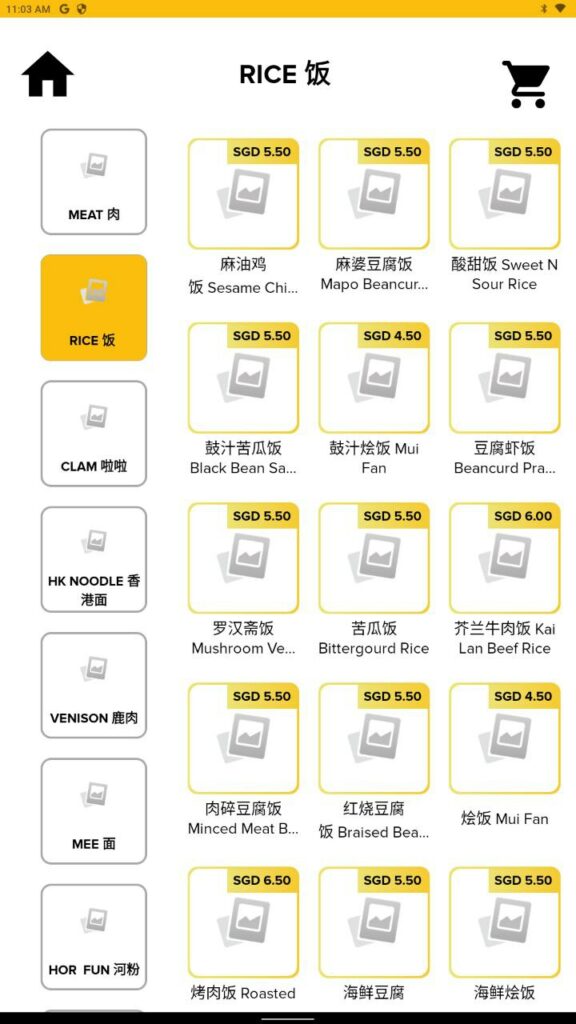
16. The layout in SOK looks like this (Category is hide)