Product Management – How to create/update/delete products in web admin?
Introduction
This post will guide you on creating/updating/deleting products in web admin.
How to create/update/delete products in web admin?
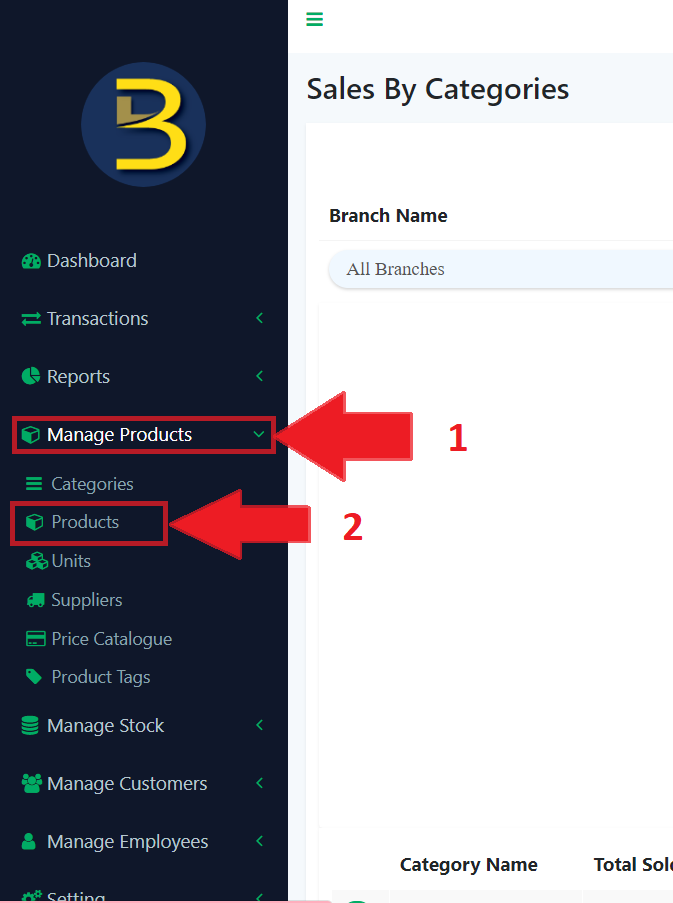
- First, click on the “Manage Product” button to expand the sub category.
- Then, click on the “Products” button to direct you to the products page.
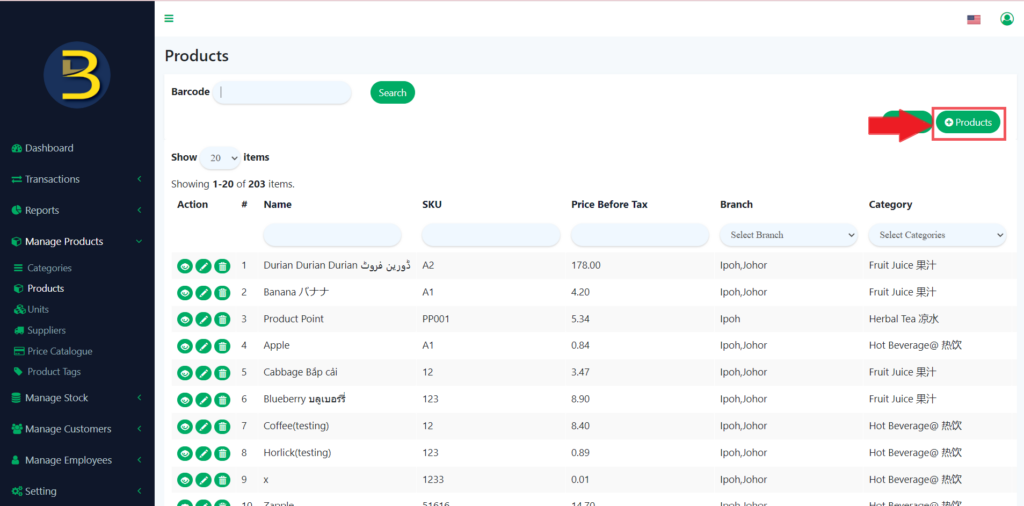
3.Then you click on the “+ Products” button to add products.
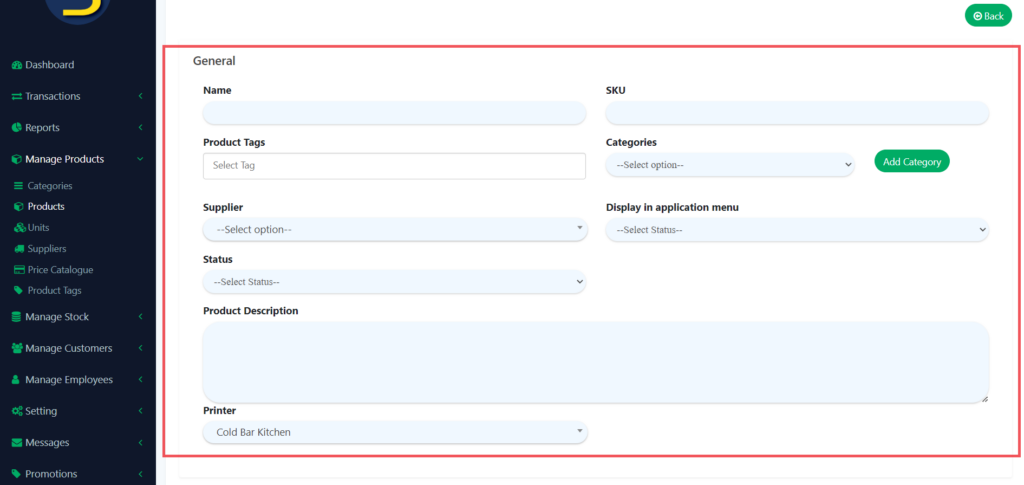
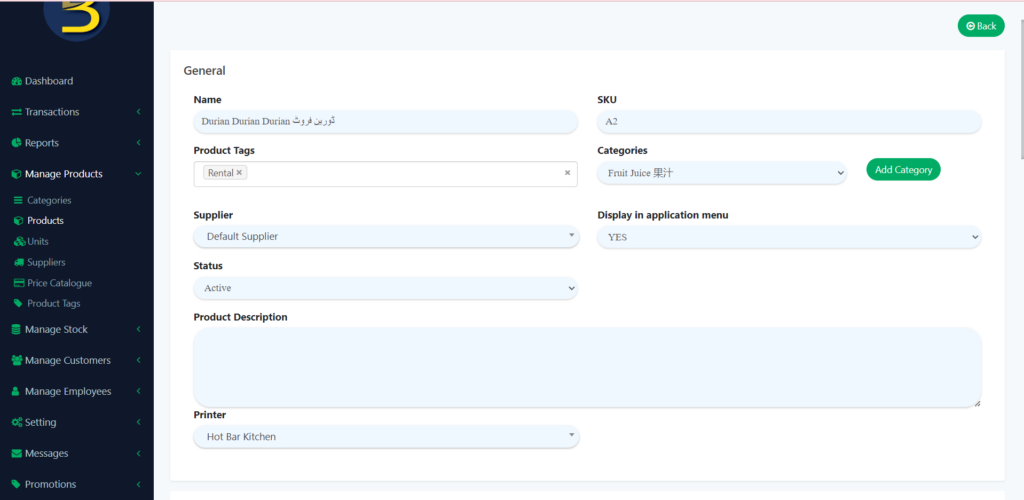
4. You need to insert the detail of the products into the given column.
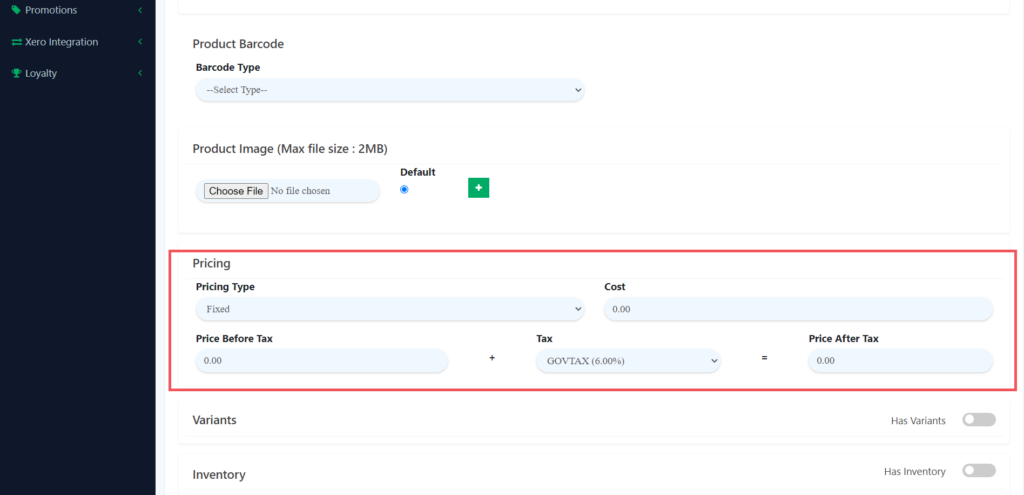
5. If the product have barcode, you may add the barcode in the given column. You also able to add product image here.
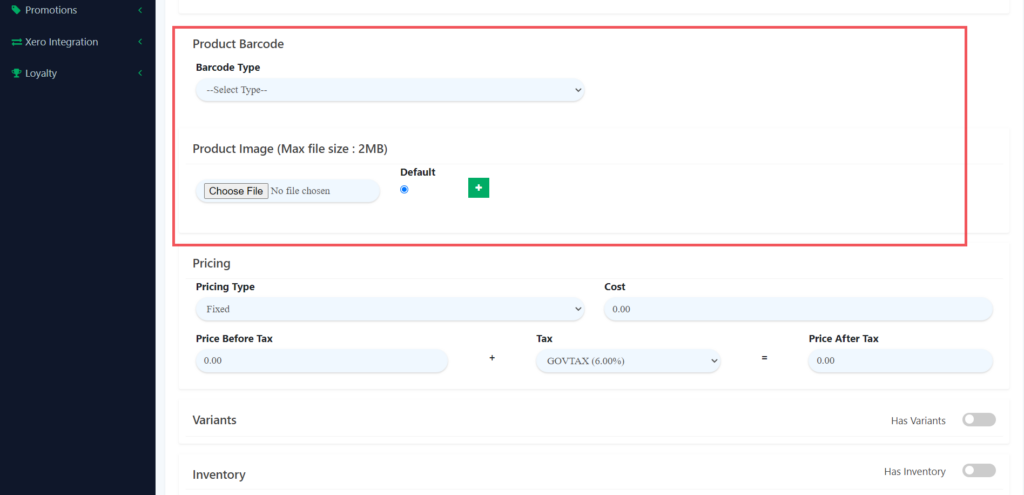
6. You need to add pricing for the product and determine whether the product contain tax or not.
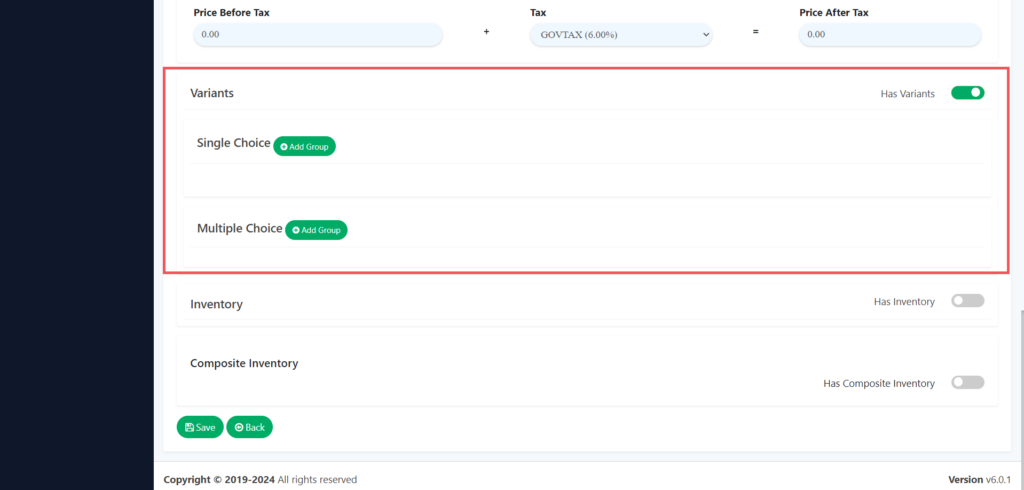
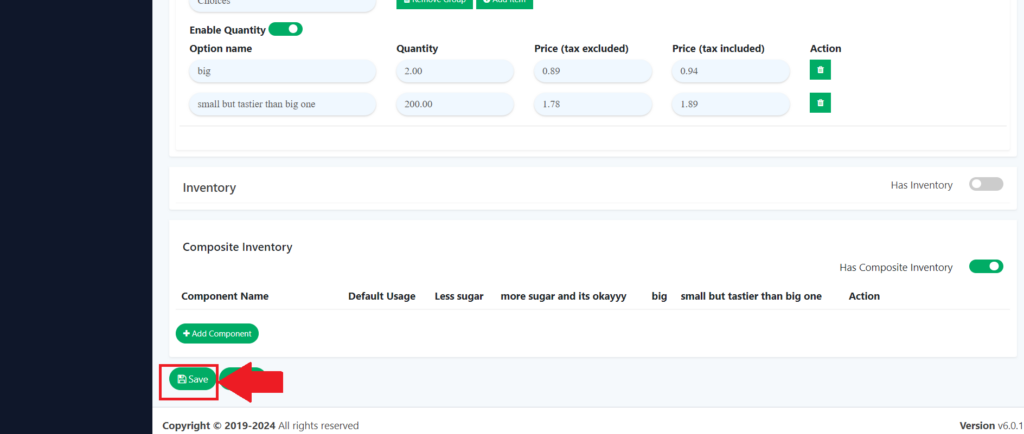
7. If the product have variant, you may on the variant to make the product more variety.
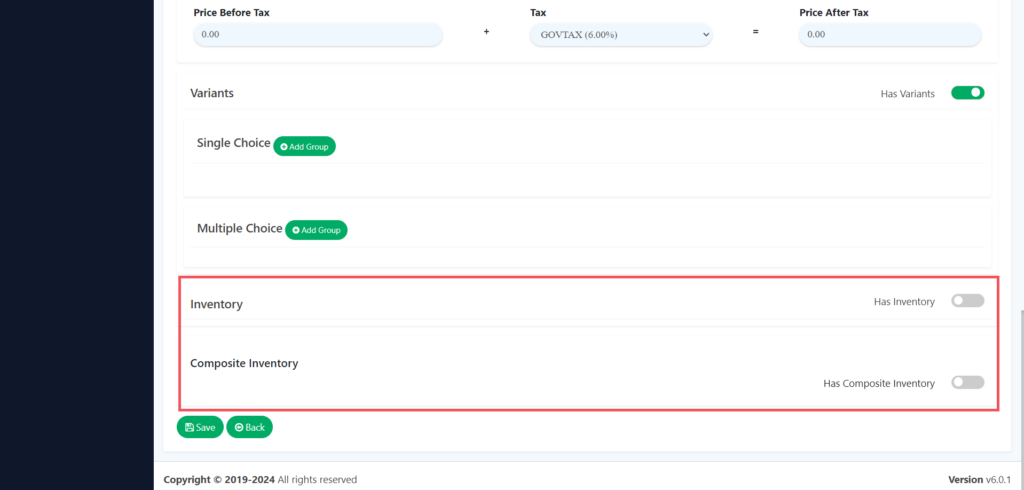
8. If the product have inventory, you may on the inventory to insert the inventory of the product.
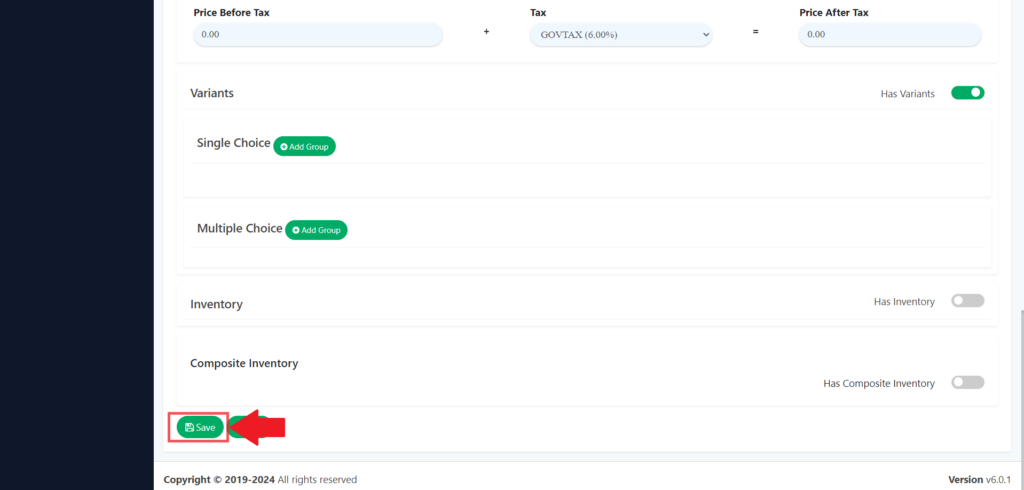
9. You need to click the save button to save the product.
10. For the update of the product, you need to click on the “pencil like” button.
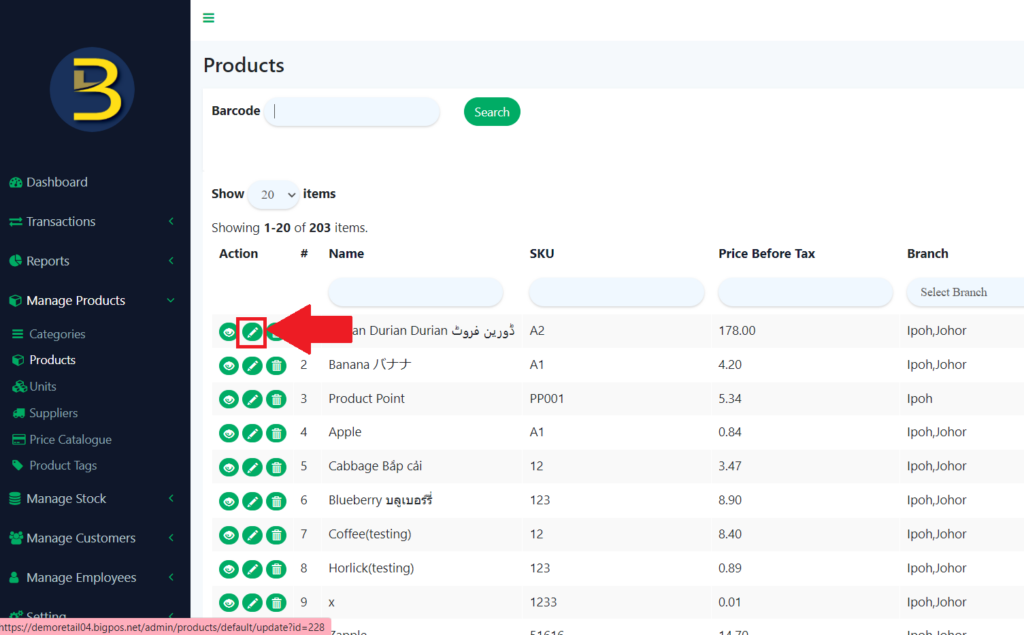
11. You change the detail of the product whether the general, barcode, image , price or the inventory of the product.
12. Then, you click the save button to keep the updated version of the product.
13. To delete a product, you just need to click on the dustbin button.
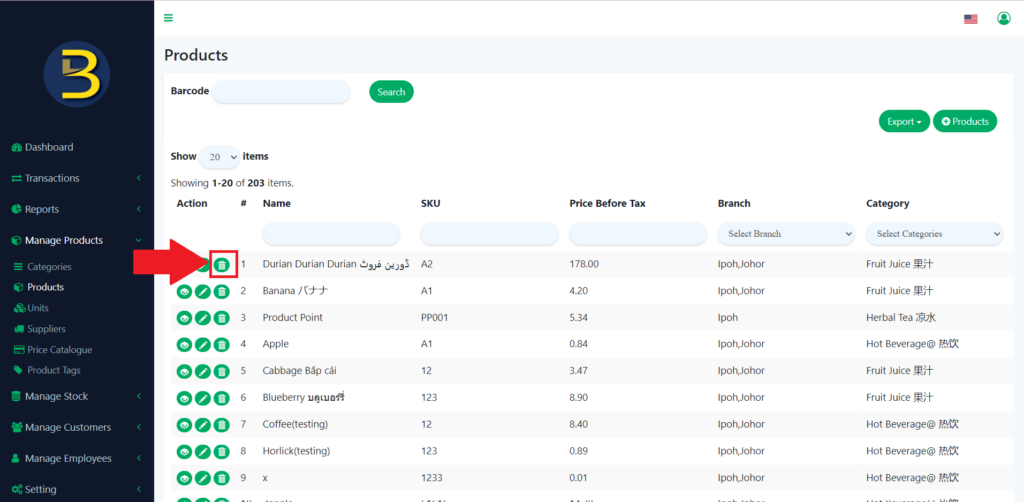
14. Then, it will pop up an alert message to confirm whether you want to delete the certain product.
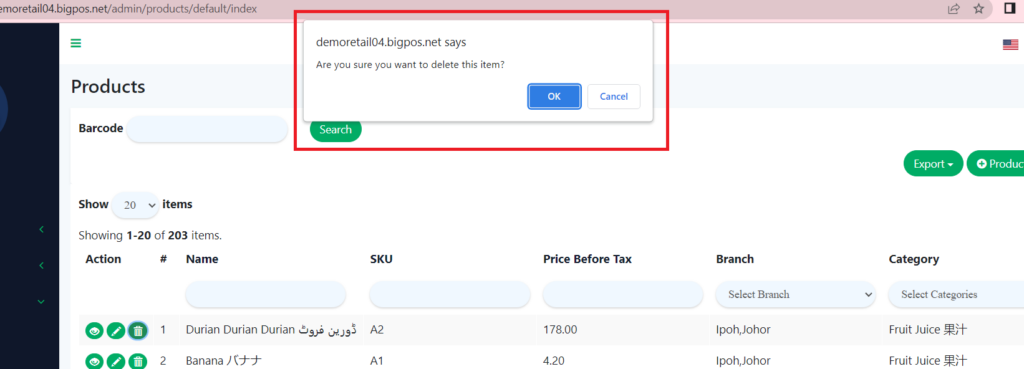
15. The product will be deleted.